
Lest We Forget.
11/11/2016

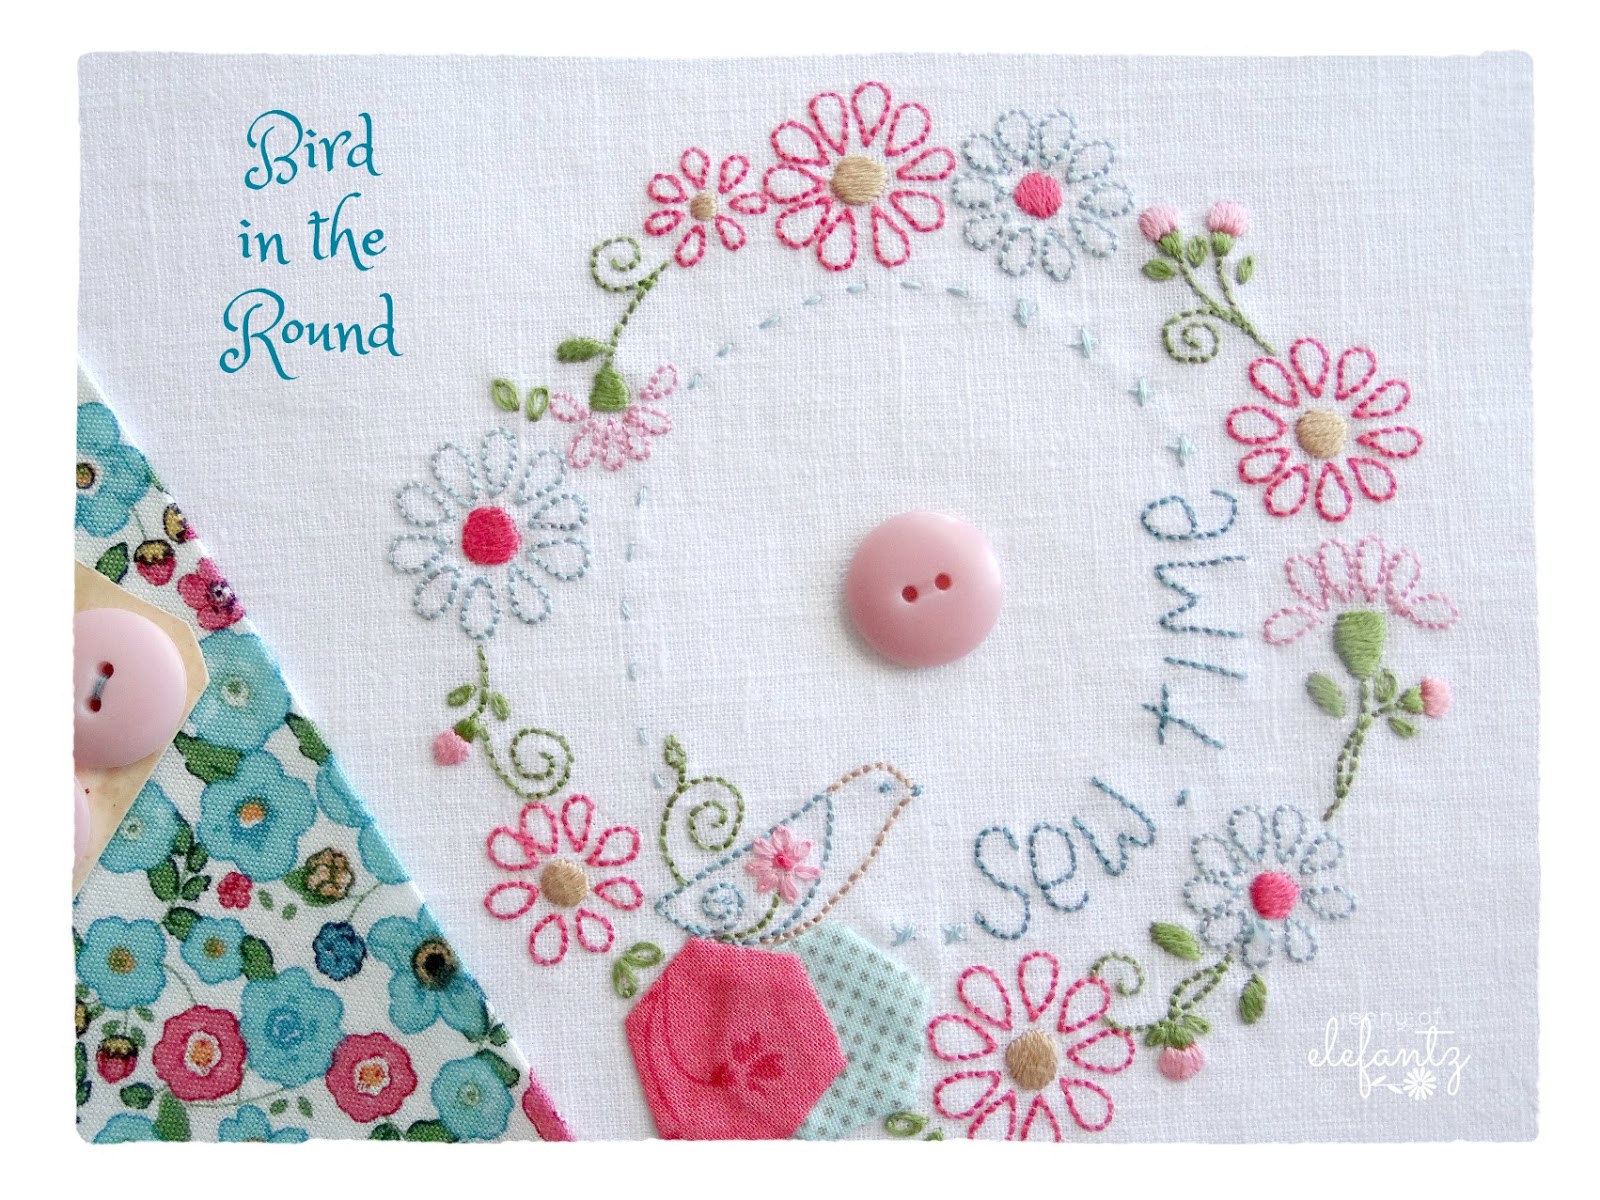
The third pincushion tutorial I'm sharing this month is - "Bird in the Round".

You can make this with any circular stitchery you have, just adjust the sizing of the pincushion front to suit.
Shall we make the pincushion?!
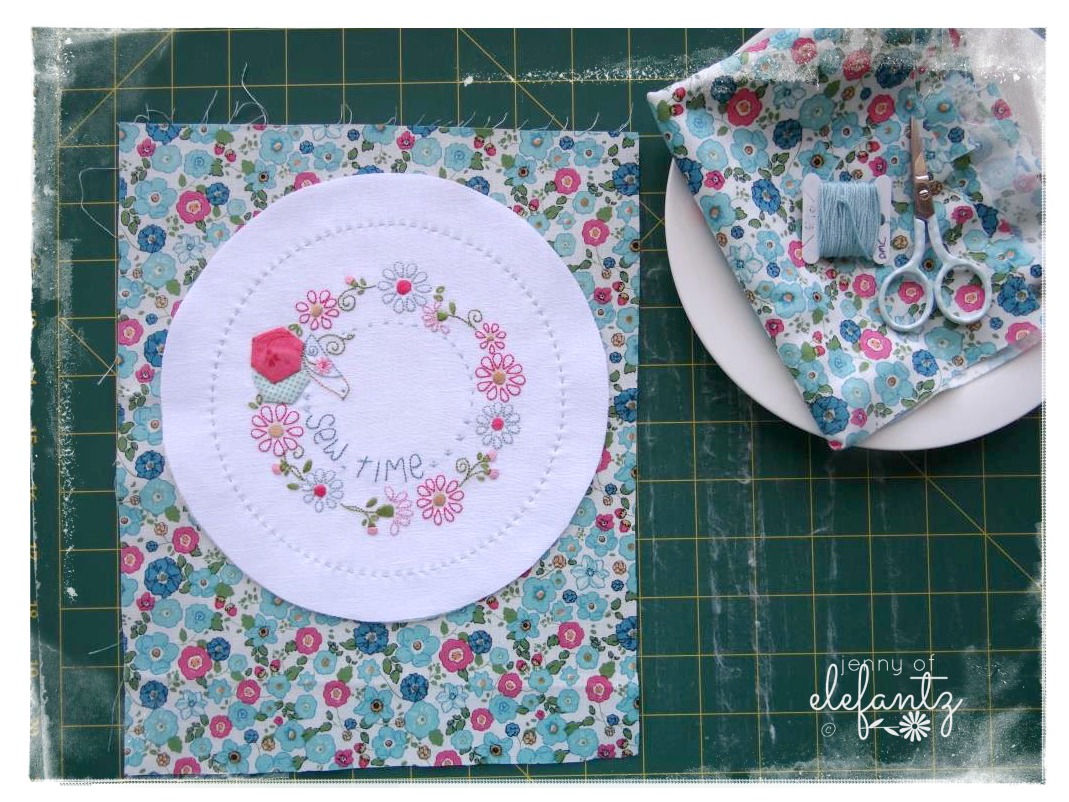
Stitch a circular design with an open centre onto a piece of fabric that is at least 5 inches wider that the diameter of your design. So if your design is 5" in diameter, you will need a 10" diameter square of fabric.
This gives you room to trace a larger circle around your stitchery once it's complete.
My stitchery measures a little under 5" in diameter. I used an 8" diameter plate to trace around it, then cut along the traced line.
NOTE: With an 8" plate you will need to measure 4" out from the centre of the stitchery using a quilting ruler and making 4 small pencil marks around the stitchery. This helps when you position the plate over the stitchery to trace.


Use the same plate to trace and cut a piece of thin fusible Pellon or Parlan.

Fuse this behind the stitchery with a warm, dry iron.
If you have a smaller plate, or a clear circular template, trace a line of dashes and sew a line of running stitch around the embroidery.
(you could also try doing this freehand)


Cut a piece of backing fabric wider than the diameter of your pincushion front and at least 2 inches longer.
Cut off a piece of the fabric, about a third of the way down it's length.

Pin the two pieces together along their newly cut edge, right sides facing.
Sew them together with a 1/4" seam but leave a 3" opening in the middle.

Press the seams open.

Lay the pincushion front face down on the right side of the pincushion back. The back seam line with the opening should be about one third of the way down from the top.

Sew the front and back of the pincushion together with a 1/4" seam all around.

Trim away the excess backing fabric.

Make small cuts about 1/2" apart into the side edges, but do not cut into the sewn seam.

Turn right side out through the back opening, push out the side edges gently with a rounded implement such as a large knitting needle or chopstick, and press flat.


Find the centre back of your pincushion and make a mark.

Do the same on the front of your pincushion.
These will be the guides for positioning your buttons.
Fill the pincushion with stuffing and slip stitch or ladder stitch the opening closed.

Choose a button for the front and one for the back.

I use a long narrow beading needle to sew buttons through fat pincushions. These are relatively easy to find in your haberdashery store.

Make a knot with your thread and secure it behind where the button will be at the back of your pincushion. From there thread back and forth between the front and back buttons a few times, pulling gently so you get that lovely pillow 'puff' effect. To finish, secure the thread with a couple of good knots (again under the back button) and hide the tail end of the thread inside the pincushion before cutting it off.

I think this is one of my prettiest pincushions, so it may have to live on my sewing table always.
For more of my pincushion tutorials visit the Elefantz TUTORIALS page.
For more of my pincushion tutorials visit the Elefantz TUTORIALS page.
Hope you have fun making one!
be blessed,

9 comments:
Another lovely pin cushion. Thank you Jenny. Lest We Forget.
Just beautiful! And the tutorial is so clear. Thank you!
Lovely image for Veterans Day. This is a very Sweet Pincushion and your tutorial is excellent. Thank You Dear.
P.S. Kathy Shaw made your little pocket pincushions and shared them on her blog. Great gifts!
What a beautiful pincushion Jenny! Thank you for sharing the instructions! Have a lovely weekend! Christine x
This one is beautiful! I love the stitchery and thanks for taking the time and showing how it is done
KATRIN W.
Oh - this is so pretty! Absolutely special!!
Good Morning Jenny! This is such a delightfully lovely pincushion! I do not know why, but I always forget that embroidery patterns work so nicely as a pincushion, that is until I see one of your beautiful patterns and wonderful tutorials! I know that I want to make several pincushions as gifts this year so I really need to get started. LOL. Thank you so much, once again, for sharing your beautiful designs and tutorials with us. They always bring me delight and a great feeling. Have a fantastic creative day!
Fabulous, Jenny! You explain things in a way I can actually do right now, with my stress brain, one step at a time. Thank you. I'm taking a day next week to make some pincushions. Everything else can wait.
Love the way you made this pincushion!
Post a Comment