
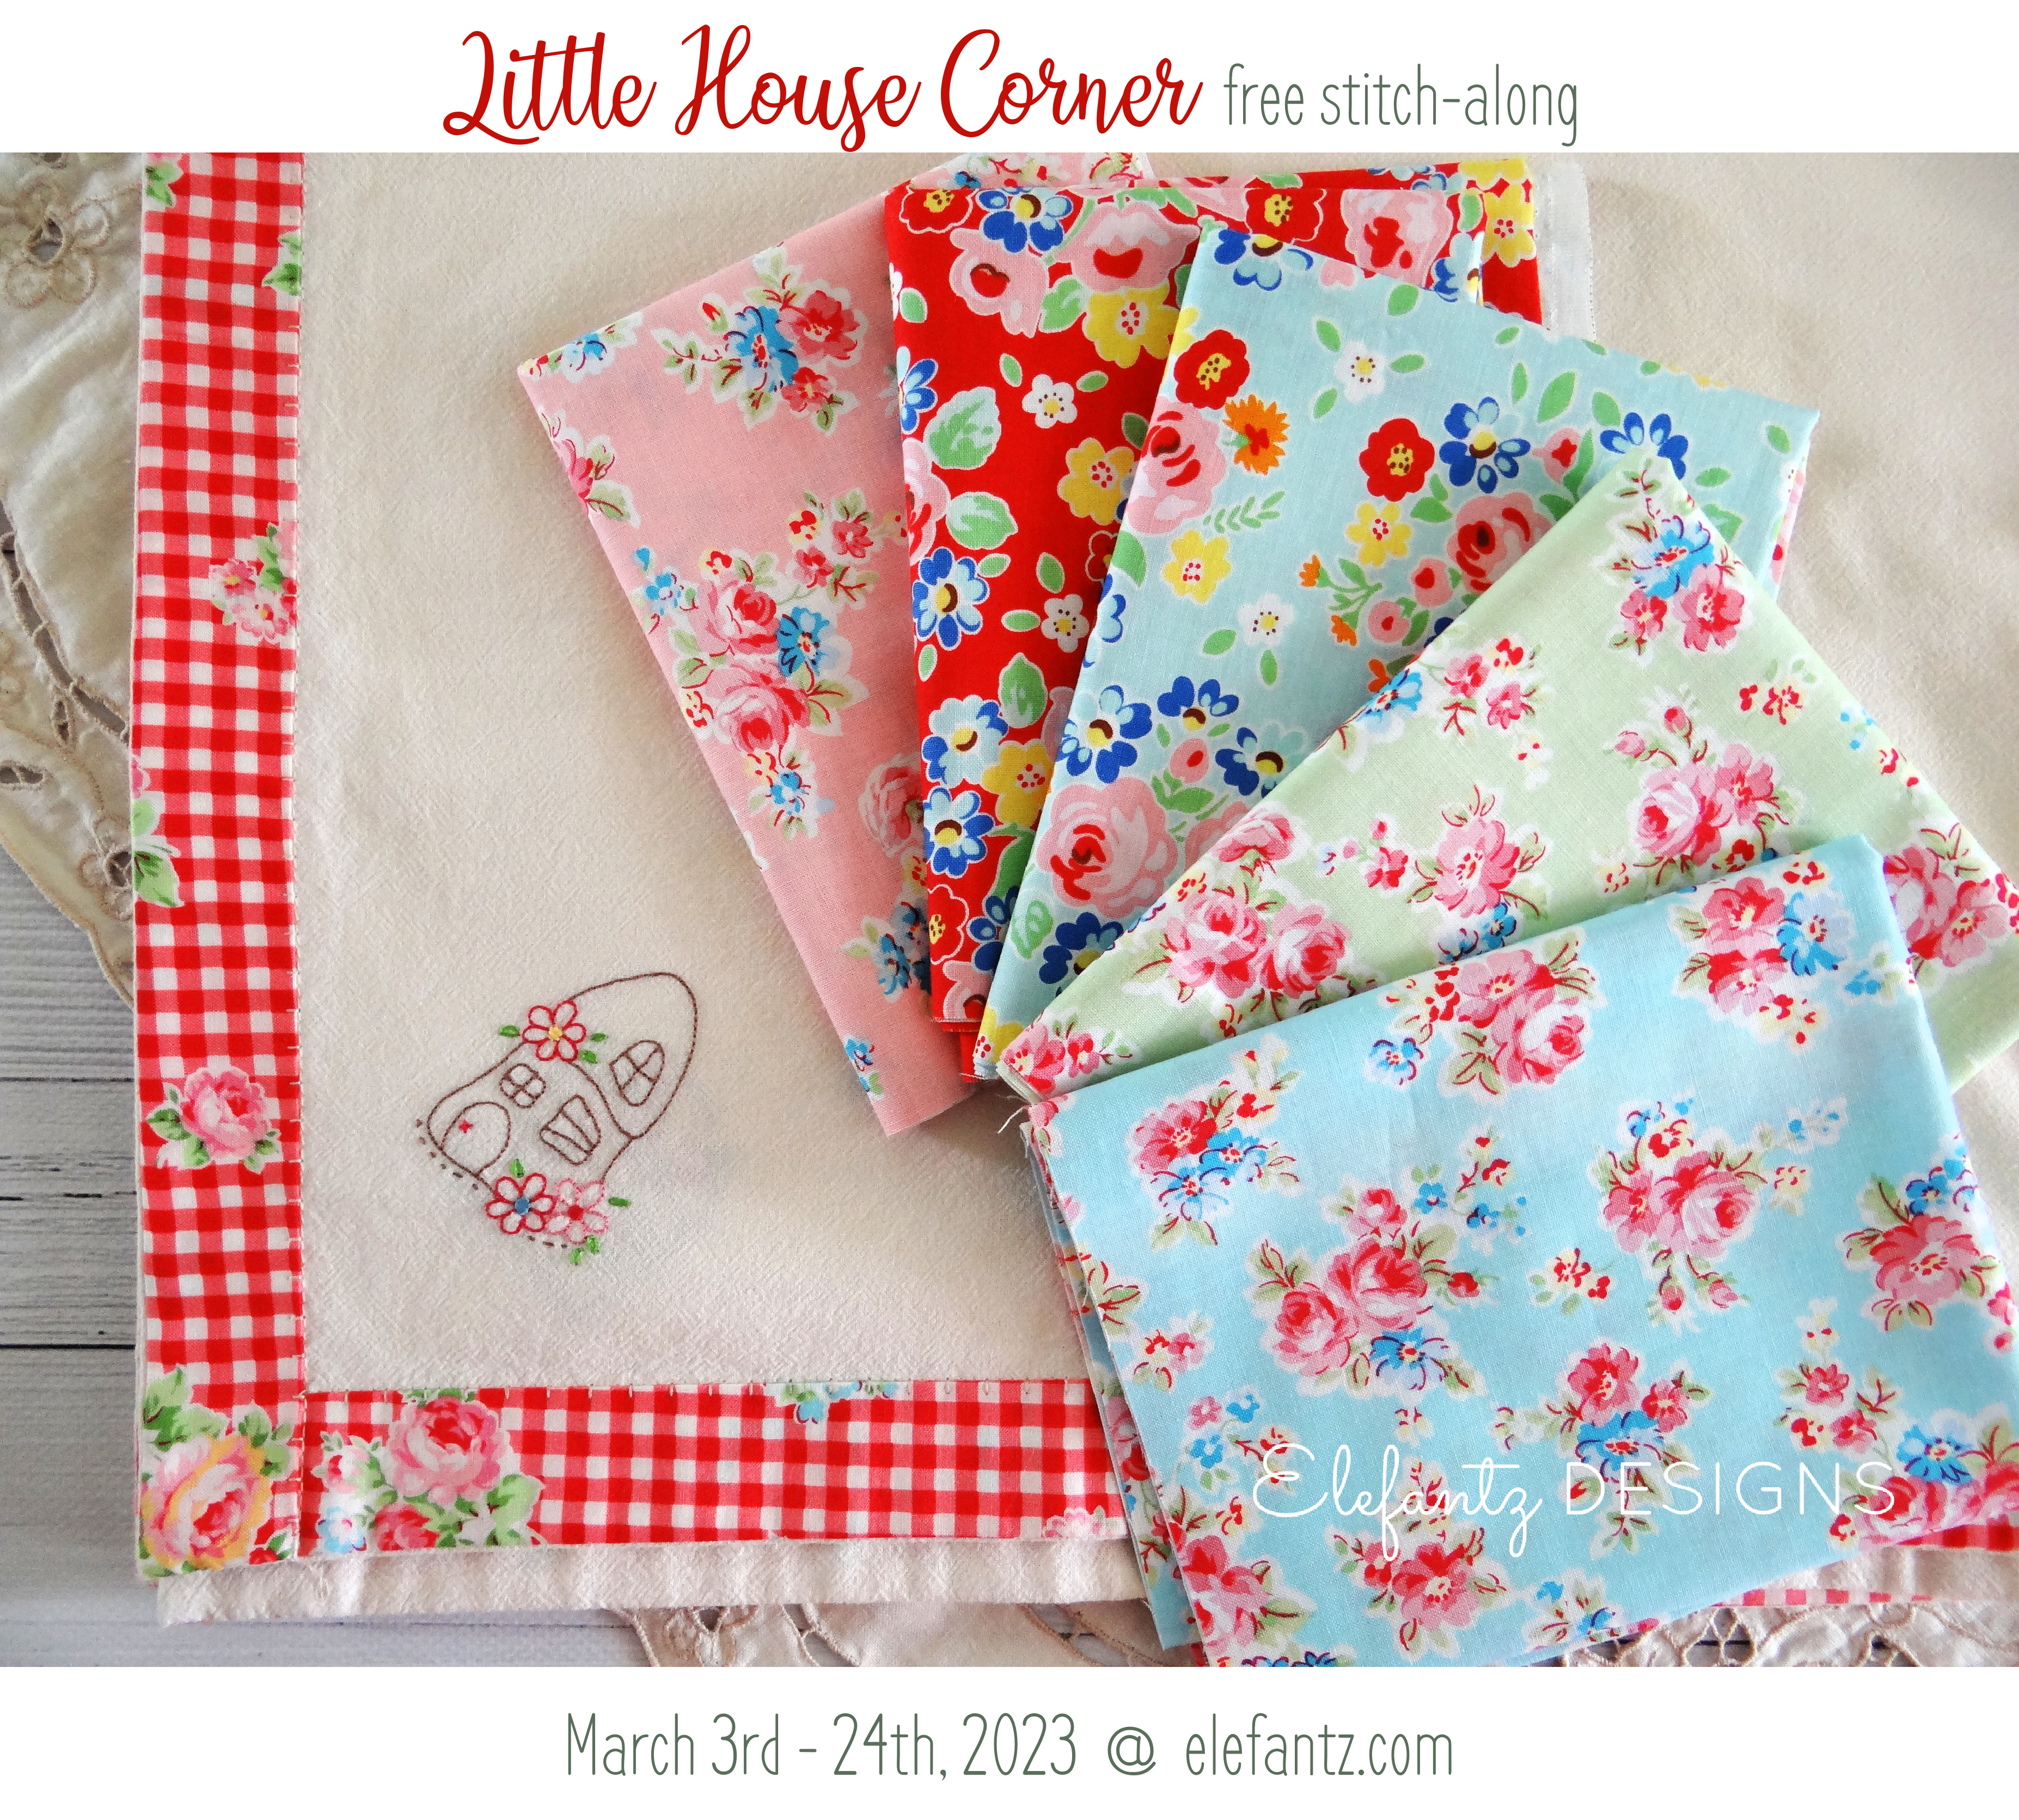
The start of our Little House Corner stitch-along is only six days from now, so we need to prepare our bordered supper cloths before we begin stitching little houses into each corner.
I've made three of these supper cloths in the past from large flour sack towels; two last year with the little house stitcheries, and one back in 2017 which featured a little vase of tulips in each corner. We shall revisit that 2017 version next Friday as it's also a tutorial for accurately tracing a design into a corner.


Today however, we'll prepare our bordered cloth. You can make your supper cloth as large or small as you like because the border instructions are the same for all sizes, but as I have already made three from flour sack, I decided to use a very fine soft pink linen for today's tutorial. This is another thing about making a bordered cloth for the Little House Corner project - you can use any fabric you like. In fact, after you've made one, you might be inclined to make a few more!
IMPORTANT: pre wash all your fabrics for this project. If you're using flour sack as I did for the original Little House Corner cloths, you must take into account that flour sack and quilting cotton (which you'll use for the border) will shrink slightly, but at different rates. By pre-washing both, you'll be assured no distortion will occur when the completed project is washed one day. Also, if you purchased one of my kits for this project, you will need to remove the hem from the flour sack before making this supper cloth.
I purchased this fine, soft pink linen on sale back in 2016 and I've waited for an idea to form whereby it could be transformed into something lovely. Yesterday, this happened.
I cut the linen to a 40" square (the flour sack supper cloths were all around 32") and being that it is so fine and frays easily, I had to be very careful. My idea was to add a very romantic rose border fabric, because I don't have a handmade cloth suitable for a high tea with vintage cups and saucers, so after auditioning prints from my fabric shelves I decided on this old Lecien print from their Flower Sugar range in about 2015.
.jpg)
.jpg)
Let's begin.
You will need to cut four, 3" wide lengths of fabric, slightly longer than the length/width of your cloth. Regular quilting fabric such as the floral print I used, measure around 43"to 44" from selvedge to selvedge, so I simply cut my 3" wide pieces from that.
Then you'll fold those strips of fabric in half along their length...

.jpg)
We're going to attach borders to the top and bottom of the supper cloth. Pin the raw edge of one length of border fabric along the top edge of the wrong side of you supper cloth...

.jpg)
Sew the fabric to the wrong side of your cloth with a 1/4" seam.
.jpg)
Press the border away from the cloth...
.jpg)
Fold the border over to the right side of the cloth and press. Pin in place...
.jpg)
Blanket stitch along the edge of the border fabric. You can do this by hand or machine. I chose machine because it's quicker, and more secure with an item that may be frequently used and washed over many years. (you could also choose to blind stitch it to the cloth instead)
.jpg)
Repeat the same steps along the bottom of the supper cloth.
Trim the excess border fabric from each end of the top and bottom edges of the cloth...
.jpg)
Now we shall sew the borders along the sides of the cloth. Pin the border fabric to the wrong side of the cloth as you did with the top and bottom edges, leaving a tail of extra fabric at each end. Sew in place with a 1/4" seam.
.jpg)
Once again, press the border away from the cloth.
Trim the excess at each end of the border to about 1/2". Fold in the corners as I have done in the photos below...

.jpg)
.jpg)
.jpg)
.jpg)
.jpg)


5 comments:
I didn't know that Lecien was not making fabric. They made such pretty ones! This was very helpful and I'll try to get a towel washed this weekend. First I have to find where I put them when I bought a package! I have a floral picked out, but it's a FQ, so I'll have to do some piecing, or pick another one. Thank you so much!
Hi Jennifer,
Your tutorials are always full of detaied photos :)
Thank you for taking all the time to put this together.
Yes, I see this in many different fabric combinations :)
hugs, take care,
Joanne
Thank you 😊 ❤️👵🏻
Thank you for this lovely tutorial. I do wonder how you use this finished cloth in your table setting for tea. I would greatly appreciate your sharing about this. Blessings to you!
Anonymous, you asked -
"I do wonder how you use this finished cloth in your table setting for tea."
It becomes a small tablecloth, perfect for when a friend visits and we share a lovely morning or afternoon tea. :-)
Post a Comment