Showing posts with label Jenny of Elefantz Designs. Show all posts

Thursday, January 26, 2023

Sew Simply sewing pouch tutorial...


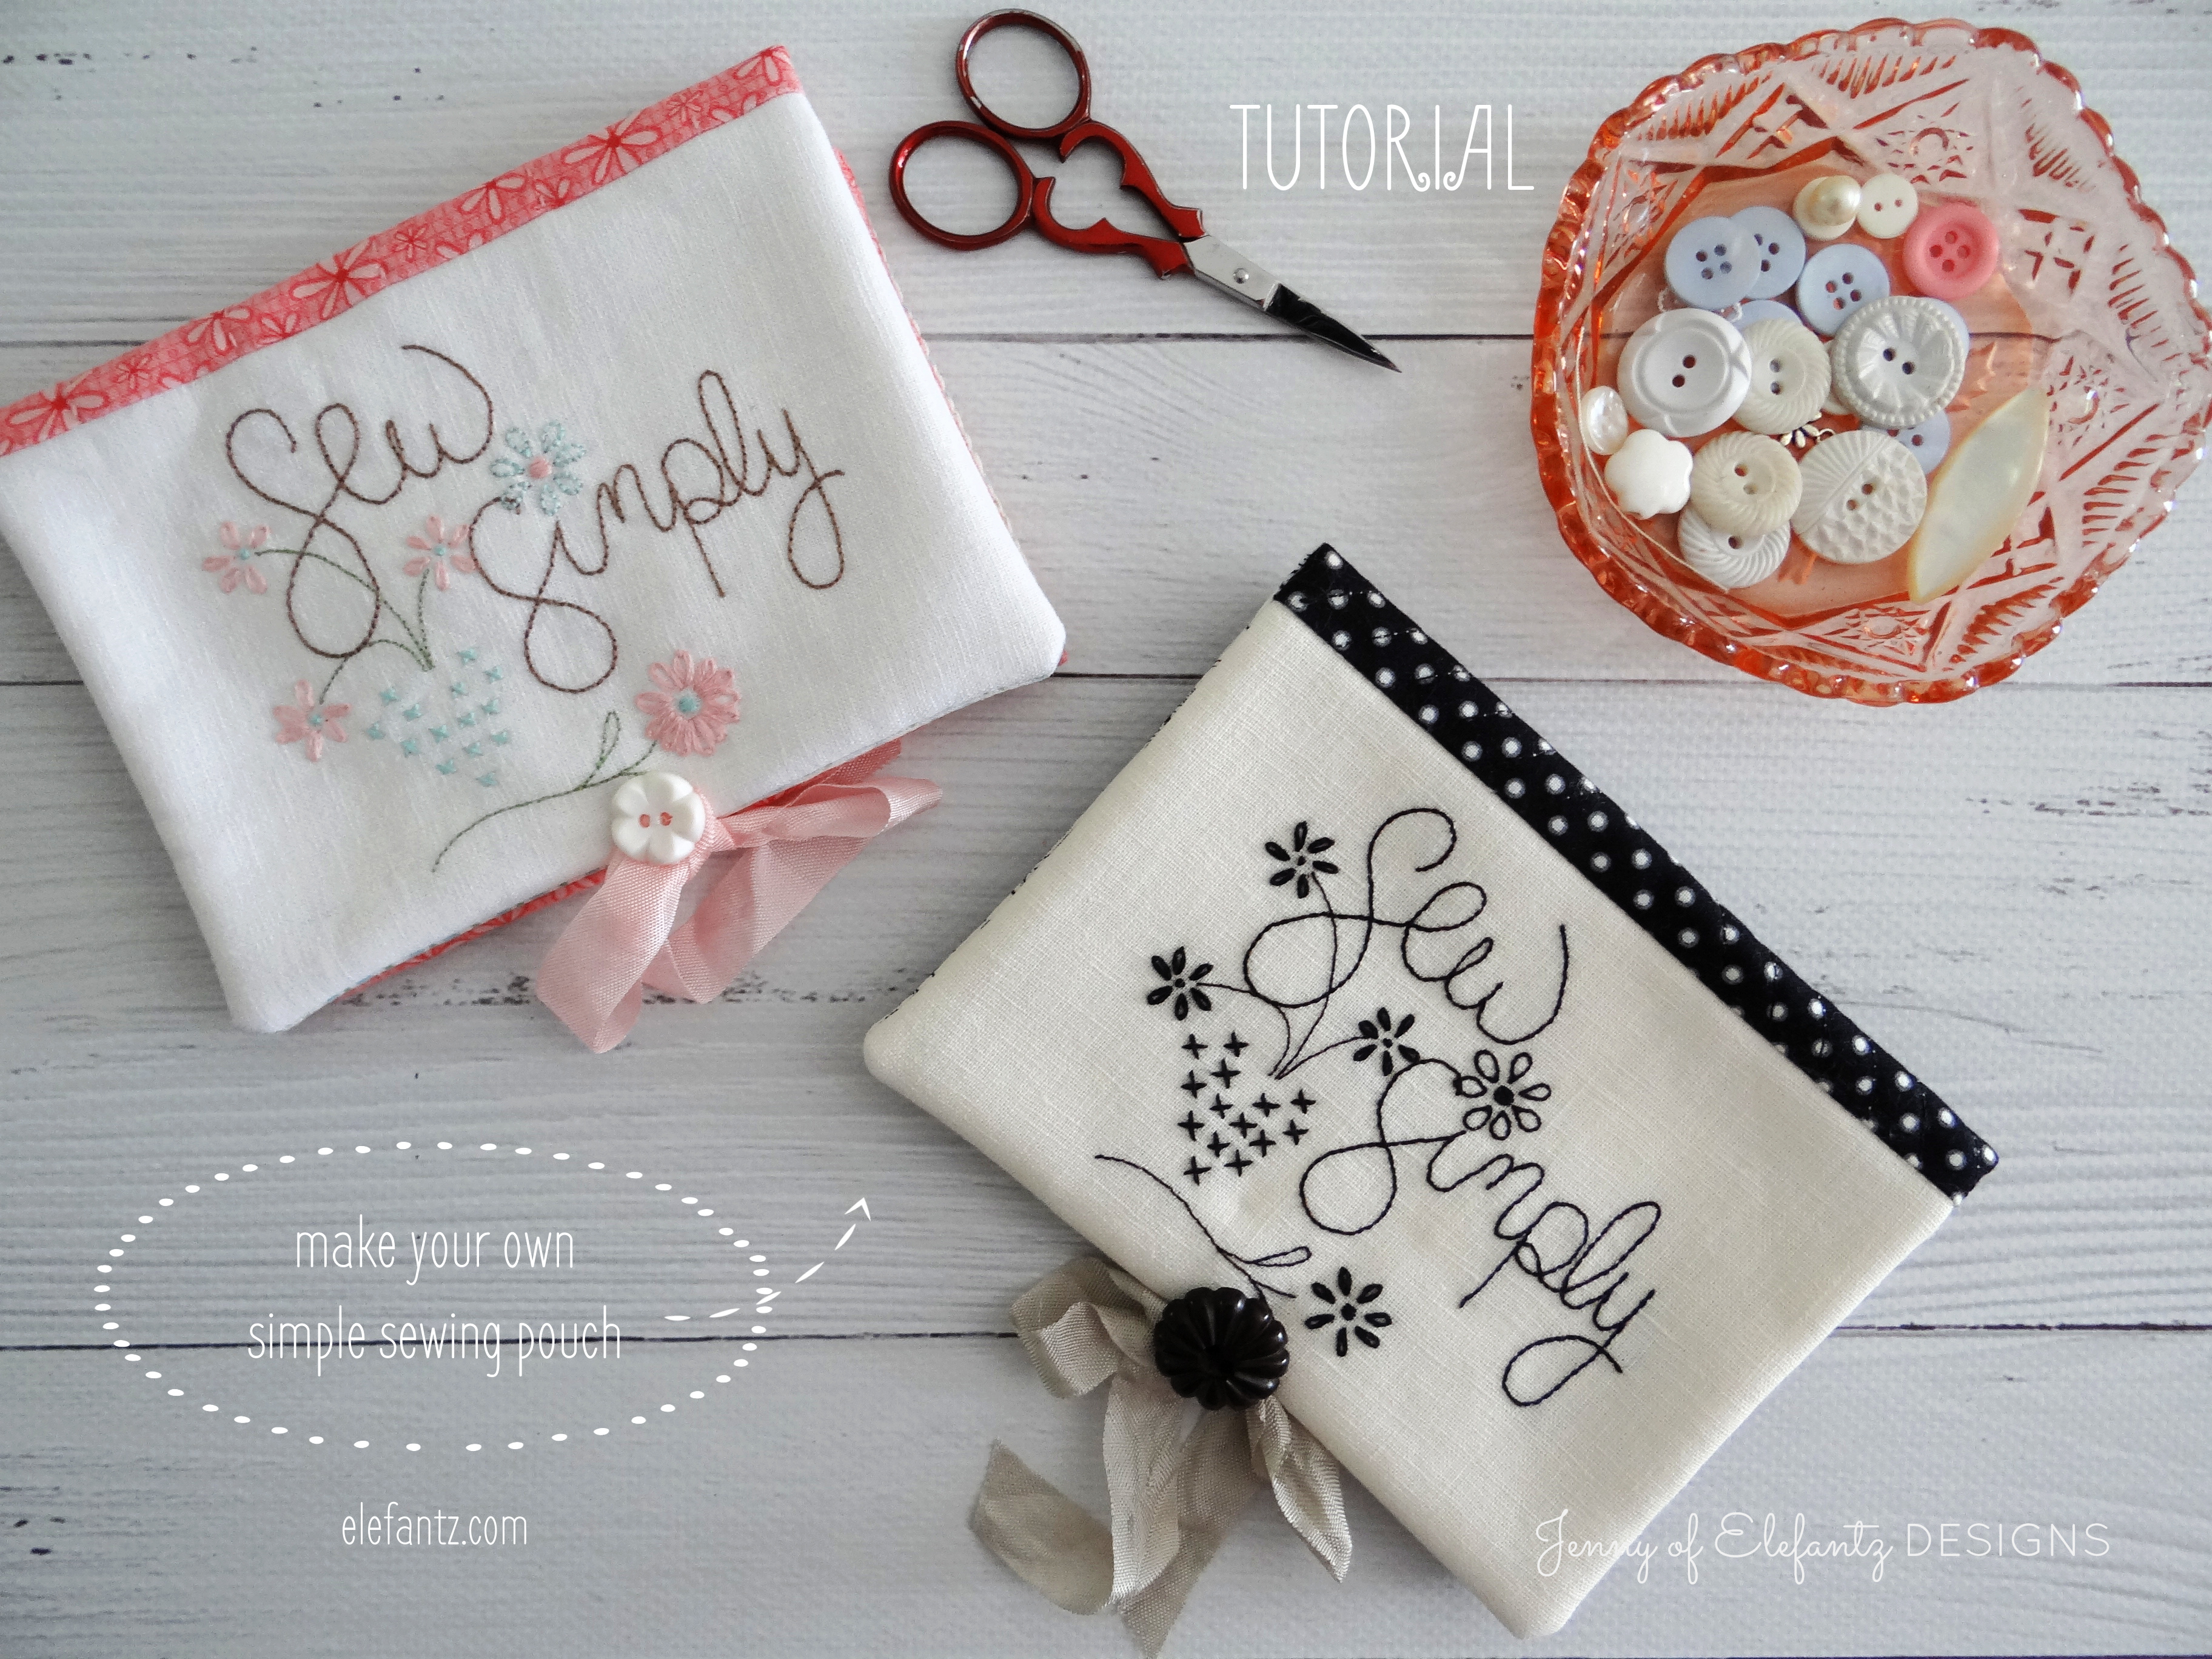
A couple of weeks ago I made a cute little sewing pouch from my blackwork version of the Sew Simply stitchery. Well, I loved it so much that I made another, this time a pastel version...and I loved it too!

Perhaps you'd like to make one of these pouches yourself? They are perfect for posting away in swaps or to friends, and especially good for using up smaller pieces of fabric and leftover pieces of quilt wadding. I am always thinking up ways to use leftovers from sewing projects.

Firstly, let me say that you can use any stitchery you like on the front, as long as you can trim it to 4.5" x 6.5" - or you can purchase my Sew Simply pattern (which includes this tutorial) HERE in my Etsy Shop

Let's begin with what you'll need...

One stitchery trimmed to 4.5" high x 6.5" wide
One piece of black/cream spot fabric 6.5" x 9.5"
One piece of lining fabric 6.5" x 13.5"
One piece of cotton quilt wadding (or similar) 7" x 14"
One piece of doctors flannel (or felt) 2.25" x 3"
One length of ribbon measuring 1/2" x 16"
One 3/4" button

Now we'll make the sewing pouch...

Use a 1/4" seam when sewing.
To make the cover, sew the trimmed stitchery block to one narrow end of the black/cream spot fabric. Press the seams away from the stitchery. Place the completed front onto your quilt wadding and either machine or hand quilt in your preferred style. I chose to only quilt the black fabric, leaving the stitchery block untouched.
Then trim away the excess wadding.


Lay the lining face down on the right side of the quilted cover, pin together, and sew around all sides leaving a 3" opening along the narrow black end. 


Turn right side out, gently pushing out the four corners with a rounded tool (I like to use a large wooden knitting needle, but a chopstick would be a good choice too). Press with an iron.


Ladder stitch the opening closed.

Fold the bottom of the cover up by 4.5" to create a pocket, and pin.


Sew the sides together using a slip stitch to secure the pocket.


Using two strands of embroidery thread the same colour as the doctors flannel, backstitch the flannel in position where shown near the top inside of the sewing pouch, BUT...be careful not to sew through to the front. Let your stitches catch in the wadding only. 


Find the middle of your ribbon, and sew to the centre bottom of the sewing pouch, along the fold line. 


Sew your button to the centre bottom of the Sew Simply stitchery.


Add some pins and needles...


Wrap the ribbon around the button to close the sewing pouch. You're done!


This little pouch is perfect for keeping in your hand bag with a small sewing project such as a hand embroidery or some EPP bits and pieces to make hexies. Waiting for an appointment, or even a visit to a sewing friend...you'll always have something handy to work on. So much nicer than watching everyone with their heads glued to phones at the doctors...sigh. 


Which sewing pouch is your favourite? The black or the pastel?
I have always been a pastel, shabby chic, occasionally vintage, type of gal...but I really love the black one. 

I have made a couple more of these pouches, with different stitcheries, but I'll show them in another post because I might be going to sell them in my shop next month...maybe. 

Bless you heaps, dear ones. May the Lord of all good things be right beside you today, speaking words of life into your spirit, and shining the Light of Christ if you find yourself in darkness. 

Till next time,


Don't miss out on any Elefantz news or free patterns. 
Subscribe to my blog posts HERE and receive them direct to your email inbox.  

Or sign up HERE for my free newsletter which often has extra benefits, freebies & tutorials!


Friday, November 4, 2022

Launching my new Daisy-A-Day block of the month today!


NOTE: I've also shared this on my other website, The Stitchery Club over HERE


Welcome to my newest membership-only block of the month, Daisy-a-Day! This is actually a remake and expansion on a much simpler quilt I made in 2013. I was never really happy with it back then, and knew one day I’d give it a complete makeover with more detail and more blocks, and now it's ready to reveal.


First of all, let me tell you about the Daisy-a-Day quilt. Measuring 38.5” x 49.5” it comprises a simply pieced set of twelve hand embroidery and applique blocks.

I chose a very basic bordered layout as the embroidered blocks are rich in detail and remain the sole focus of your completed quilt. After all, you want your handwork to shine after the many hours invested over the course of our nine-month journey with needle and thread.

I hope you decide to stitch along with this project and have fun along the way!

Membership runs for nine months. As a soon as you join, I will email you the first double block as a gift to get you started while you wait for the regular monthly block to be emailed on the 25th of the month from November 25th (2022) - July 25th (2023).


I encourage you to raid your fabric stash to make Daisy-a-Day. My main fabrics are from an older line by Tilda called “Woodland”. I have used just four prints from that range for this quilt. In addition to those fabrics, I gathered scraps from my stash for some of the applique sections. If you have some favourite prints which have never found their home in a quilt, perhaps this is the time to let them shine. 

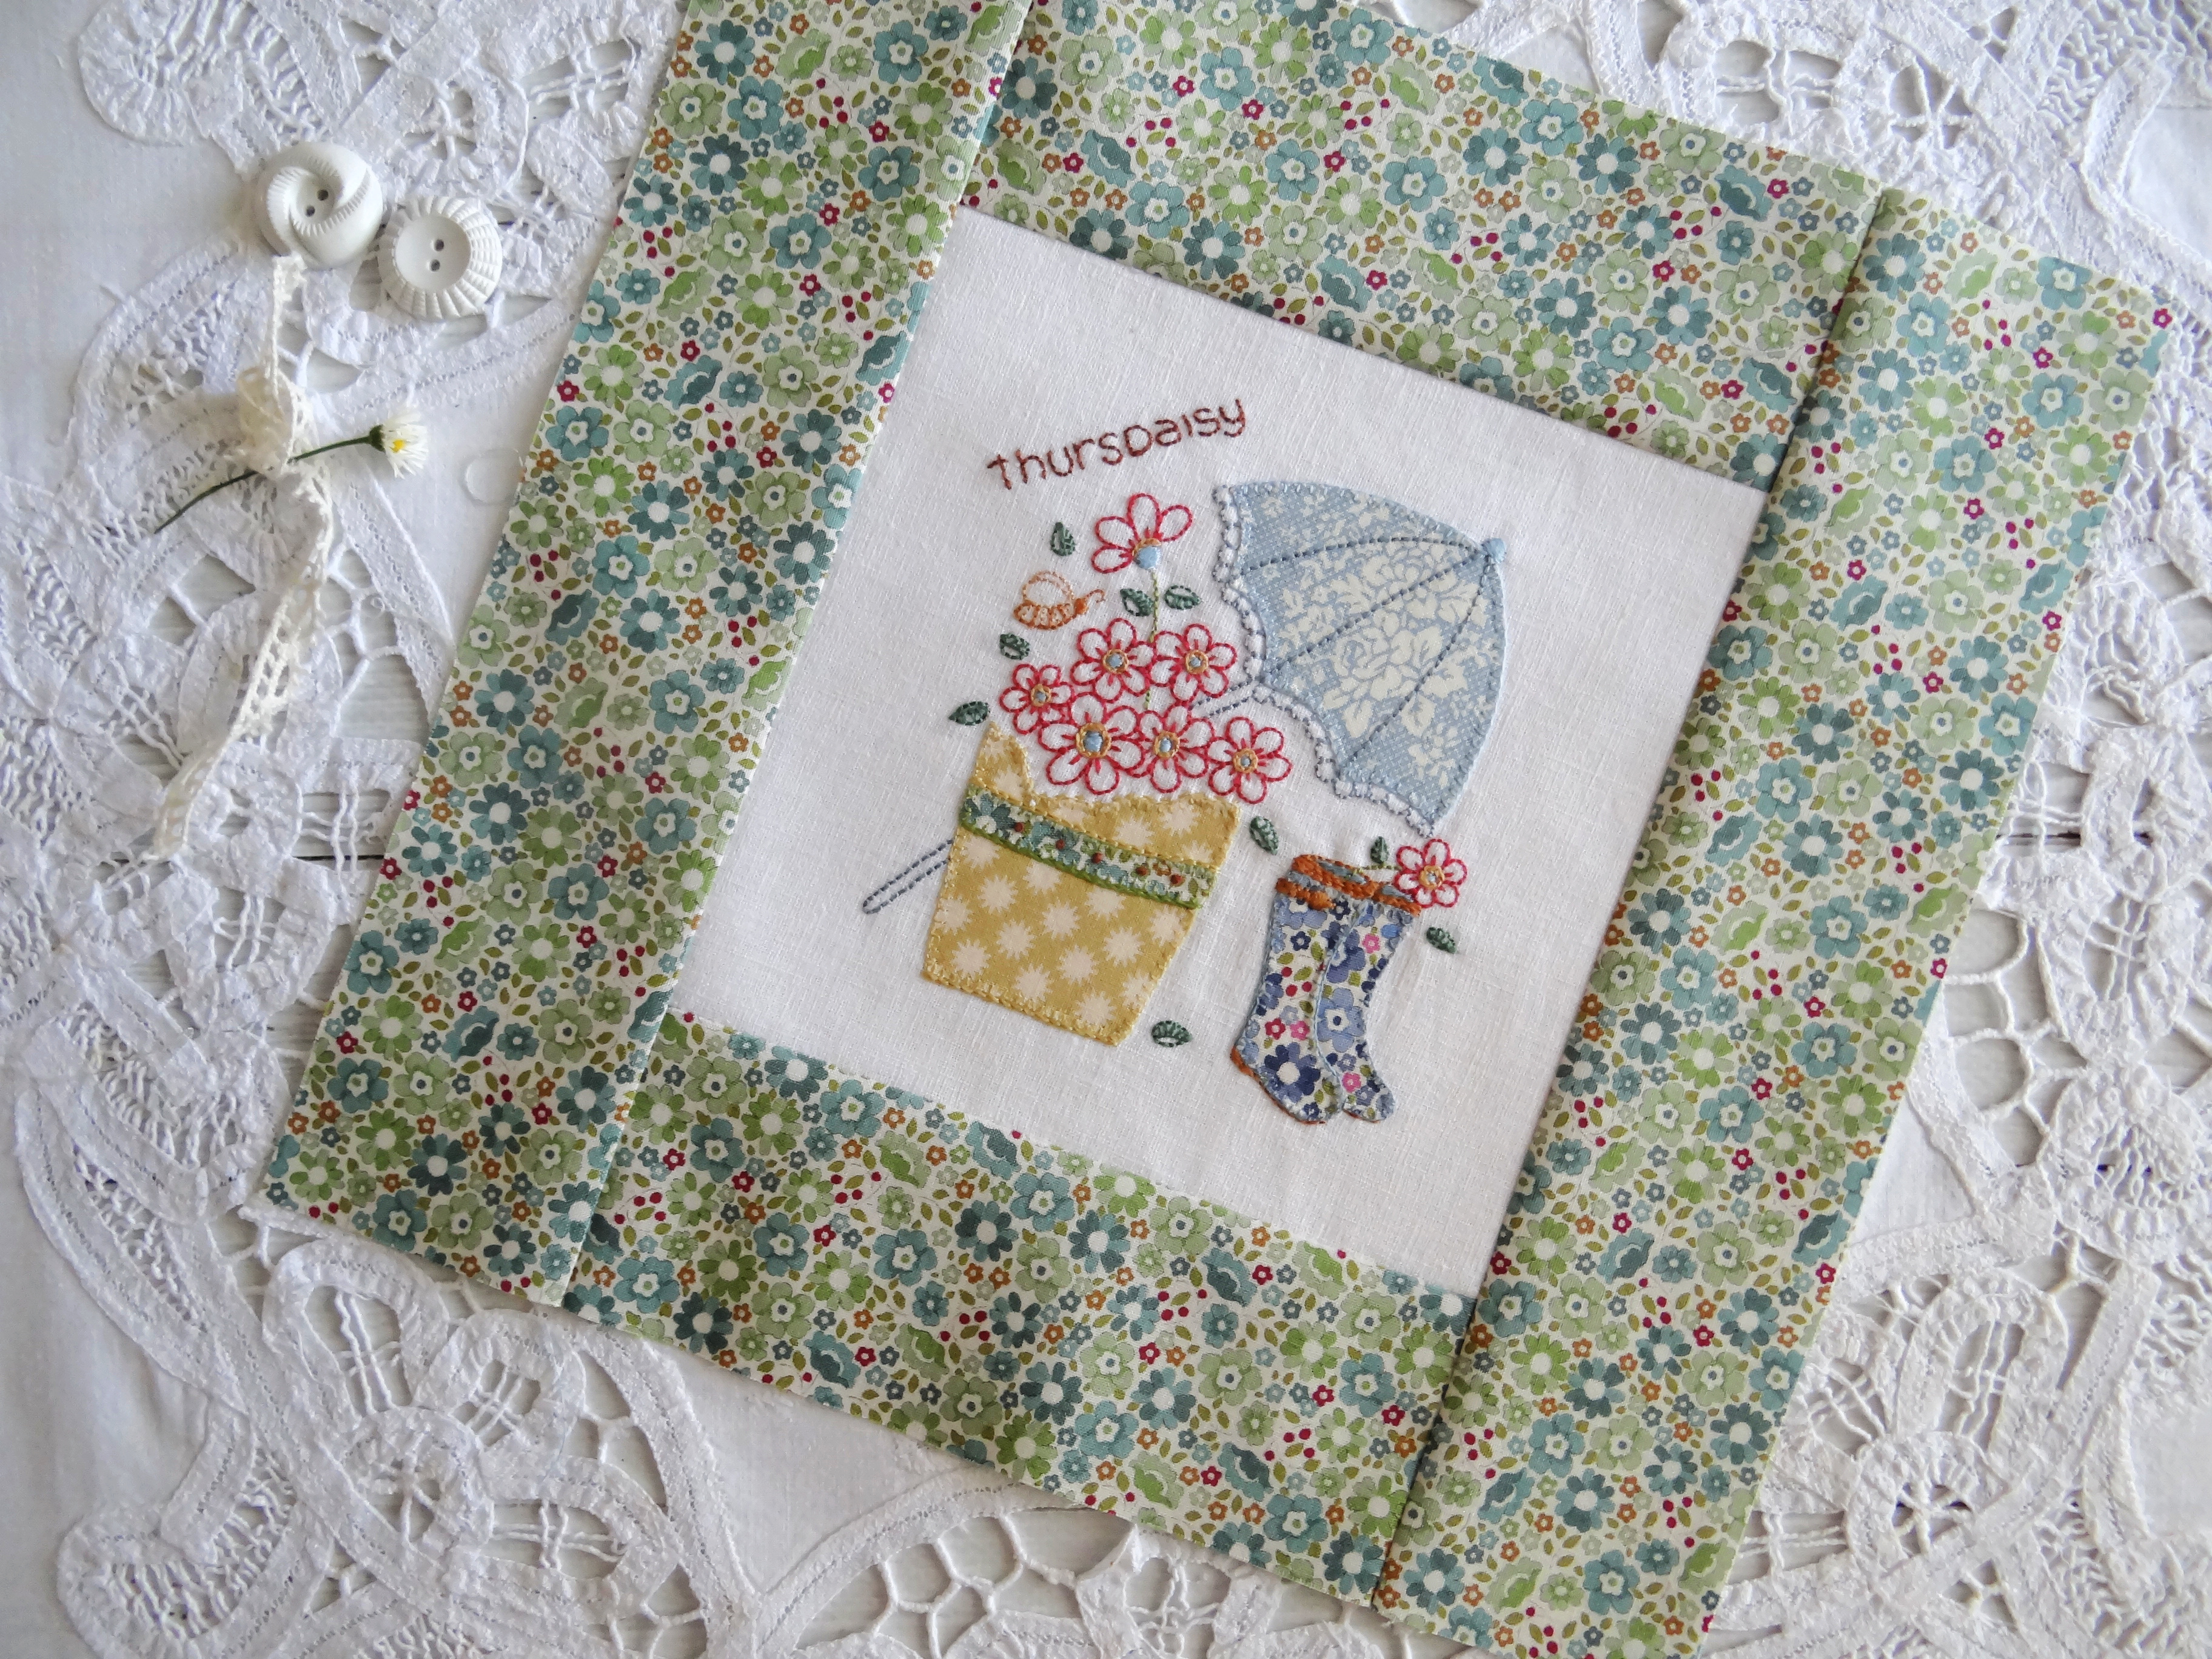
Here's a look at all the blocks you'll be stitching (in order)...

The free gift of blocks 1 and 12 (they are a reverse copy of each other) you'll receive via email within 12 hours of joining the BOM membership...


Month 1


Month 2


Month 3


Month 4


Month 5


Month 6


Month 7


Month 8


Month 9


Month 9 also includes the quilt assembly instructions + a sweet label to embroider and sew to the back of your completed quilt.

I plan on hand quilting Daisy-a-Day, but as we live in the tropics of Northern Australia that pastime will be delayed until mid-autumn (late April) when things begin to cool slightly. 
This is why the binding is not shown in the photo of the completed quilt top, however, I plan on using either more of the green floral fabric, or a scrappy binding using all the fabrics used in the quilt block borders.


MONTHLY MEMBERSHIP IS NOW CLOSED

PLEASE NOTE: Memberships to this BOM close on November 24th, 2022 

The designated monthly PDF pattern for each block will emailed to you on the 25th of each month, beginning November 2022, and ending July 2023.

 I'd love for you to stitch along with me over the next nine months! 

Bless you heaps,


Don't miss out on any Elefantz news or free patterns. 
Subscribe to my blog posts HERE and receive them direct to your email inbox.