I said I'd share four pincushion tutorials this month, and I really do try to keep my word.
The first three styles came easy to me because I designed them before I made them, but this fourth pincushion pattern wasn't quite as accommodating.
It wasn't due to lack of an idea, but rather because I had three and could only use one.
So this morning I stood silent in my sewing room with fabric, stitchery, buttons and a blank stare for the longest of times, hesitating to pick up my scissors or the rotary cutter for fear of making the wrong decision and regretting it soon after.
I like the quilter's rule, "measure twice, cut once", because it makes you sure in your mind before you embark on a journey of no return with regards to slicing and dicing a perfectly good piece of fabric, but try as I may this rule would not work with my 'which pincushion should I make?' quandry.
I decided to gather yesterday's washing off the clothesline, put the breakfast dishes away, and decide on a menu for tonight's dinner - clearing my mind of what perplexed it most. And you know what? It worked!
I didn't have to choose between those three pincushion ideas after all because I came up with a completely new pattern instead!!
There really is wisdom in walking away and doing something completely different to rest your little grey cells. I think Hercule Poirot would approve of that?
Shall we begin?
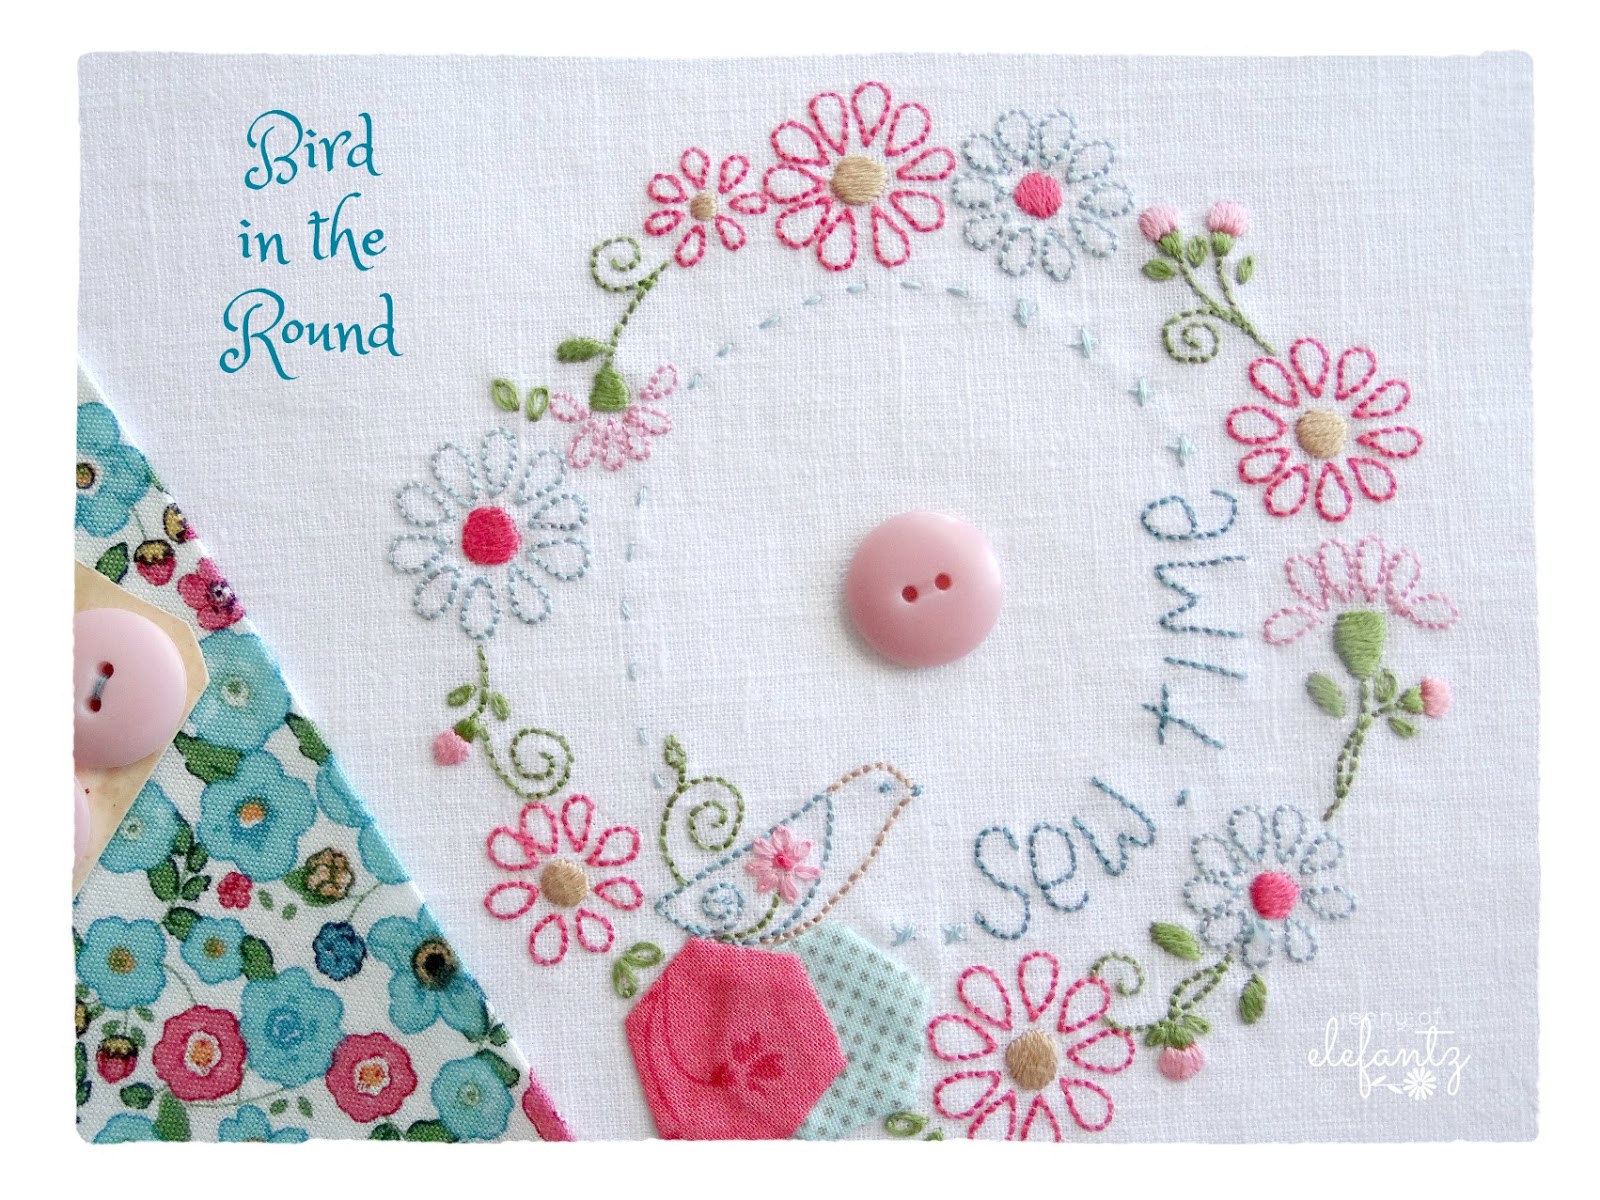
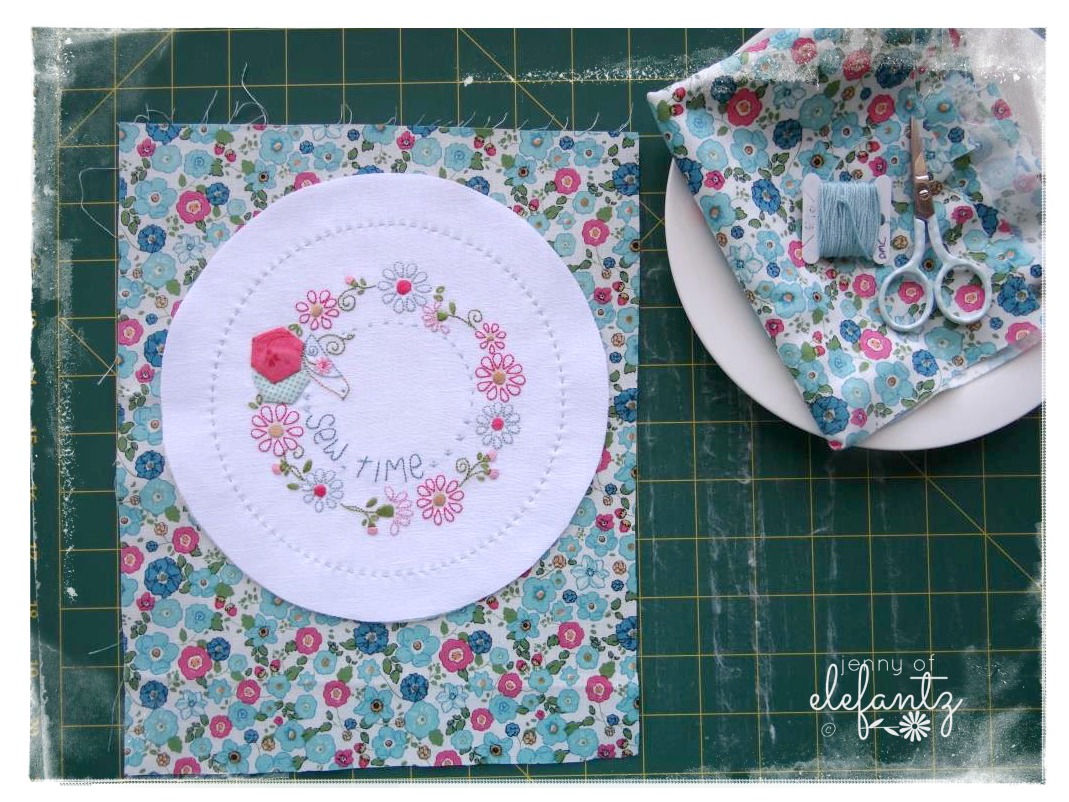
The stitchery on the front of the pincushion (Sew & Sew) is one my Stitchery Club members will receive in their November patterns on Thursday.
If you are not a Stitchery Club member you can purchase the November issue from my shop on that day.
BUT what about using a stitchery you already have or fussy cutting a piece of pretty fabric instead!?

To make a pincushion the same size as mine trim your stitchery to 3 1/2" x 7 1/2".
You will also need -
A fat quarter of feature fabric from which you will cut -
one, 3 1/2" x 7 1/2" piece
two, 5 1/2" x 9 1/2" pieces
Two, 5 1/2" x 9 1/2" pieces of fusible Parlan or thin fusible Pellon
One button
Crushed walnut shells or polyester stuffing
Let's Sew!
Place the stitchery right side down on the 3 1/2" x 7 1/2" piece of fabric and pin all the way around.
(note: I have cut my fabric larger so that it's easier for you to see in the tutorial)
Sew the two pieces together with a 1/4" seam leaving a 2" opening along one narrow end.

Turn right side out, and blind stitch or ladder stitch the opening closed.

Fuse the Parlan (or thin Pellon) behind the two pieces of 5 1/2" x 9 1/2" fabric.

Centre your stitchery on one of the pieces of fabric and pin in place.

Secure the stitchery 'pocket' to the fabric by sewing a line of running stitch with 2 strands of embroidery thread across the top, left side, and bottom of the 'pocket', about a 1/4" inside the edge. Leave the right side open.
I used a cream thread to blend with my stitchery background fabric.


Sew a button in position about 1" from the top right edge of the stitchery 'pocket'.

Lay the remaining piece of fabric right side down over the front of your pincushion and pin the two pieces together. Sew around all four sides with a 1/4" seam. leaving a 3" opening along the narrow end opposite the button end.
Turn right side out, gently pushing the corners out with a large rounded tool such as a big wooden knitting needle or a chopstick.


I chose crushed walnut shells for this pincushion because I am using the pocket to hide my scissors therefore I need the pincushion to sit flatter than a polyester stuffed one would normally be inclined to do.
(If you use polyester stuffing, don't over fill this pincushion.)

The easiest way to fill a pincushion with crushed walnut shells is with a kitchen funnel.

Fill the pincushion about 2/3 of the way but no more.
Slip stitch or ladder stitch the opening closed, keeping your stitches very close together.
The final step was to make a little twisted tie for my scissors from six strands of embroidery thread and then I could hide them inside the pocket of this pretty new pincushion!


Now you've seen this made, I'm pretty sure you can figure out how to make the same kind of pincushion using stitcheries of different sizes. In fact, you could omit the hidden pocket too, if you like.
We've all got some UFO stitcheries, cross-stitches, mini quilt blocks...perhaps you could give them a home as pincushions and get a head start on 2017's birthday or swap gifts?
Whatever you do, be sure to have fun!

Would you like to see my smallest pincushion?
When Blossom was a wee little thing, long before I taught myself to hand embroider, she would sit and sew tiny bits and pieces for her dolls and sometimes she'd come out with precious things for me.
I could make simple dresses for her or her sisters, and I could hem curtains and do some rather nice cross-stitch by following a pattern, but that was the extent of my sewing skills pre-2005.
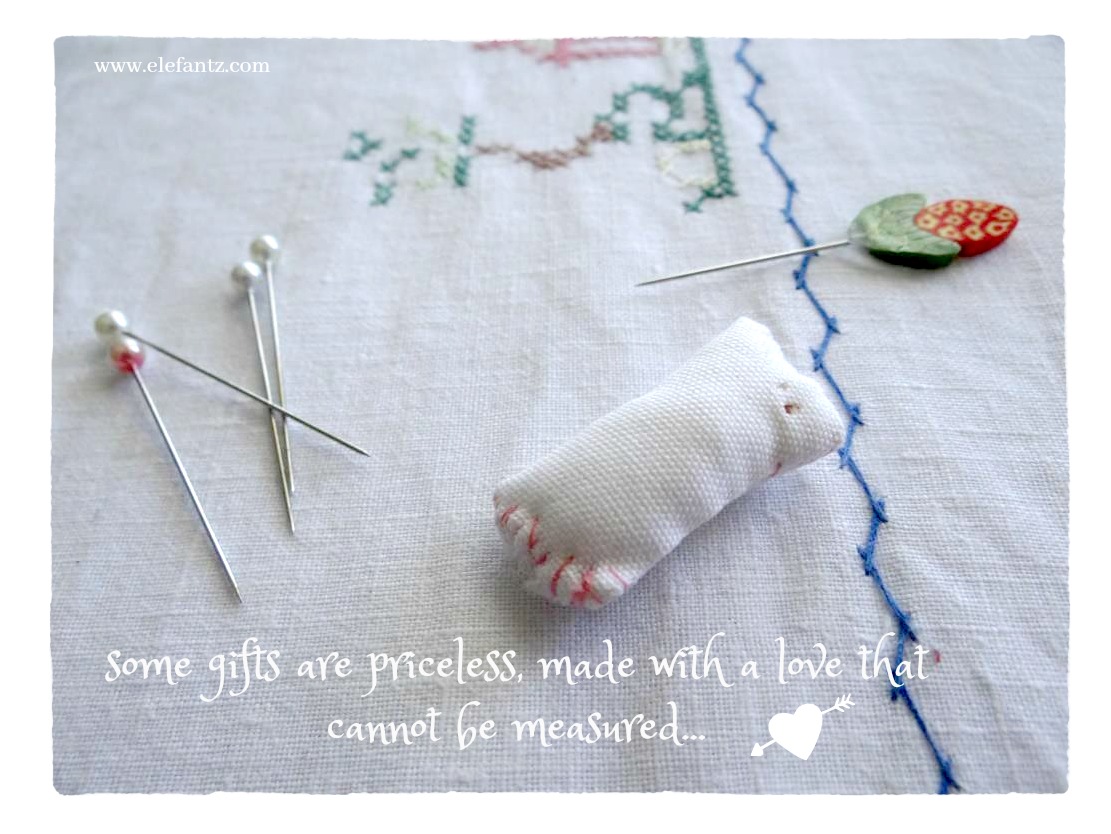
One day, whilst I was relaxing with a newly purchased cross-stitch design, she drew close to my side and gave me this precious little pincushion as somewhere to keep my needle when not in use.
It's only a inch long and tightly packed with scraps of thread. She was just a small child when she made it and completely self taught with needle and thread...
I think you can appreciate why I treasure it so.
What small things in life do you hold dear?
hugs