Showing posts with label Little House Corner stitch-along. Show all posts

Friday, March 24, 2023

Week 4 Little House Corner stitch-along...


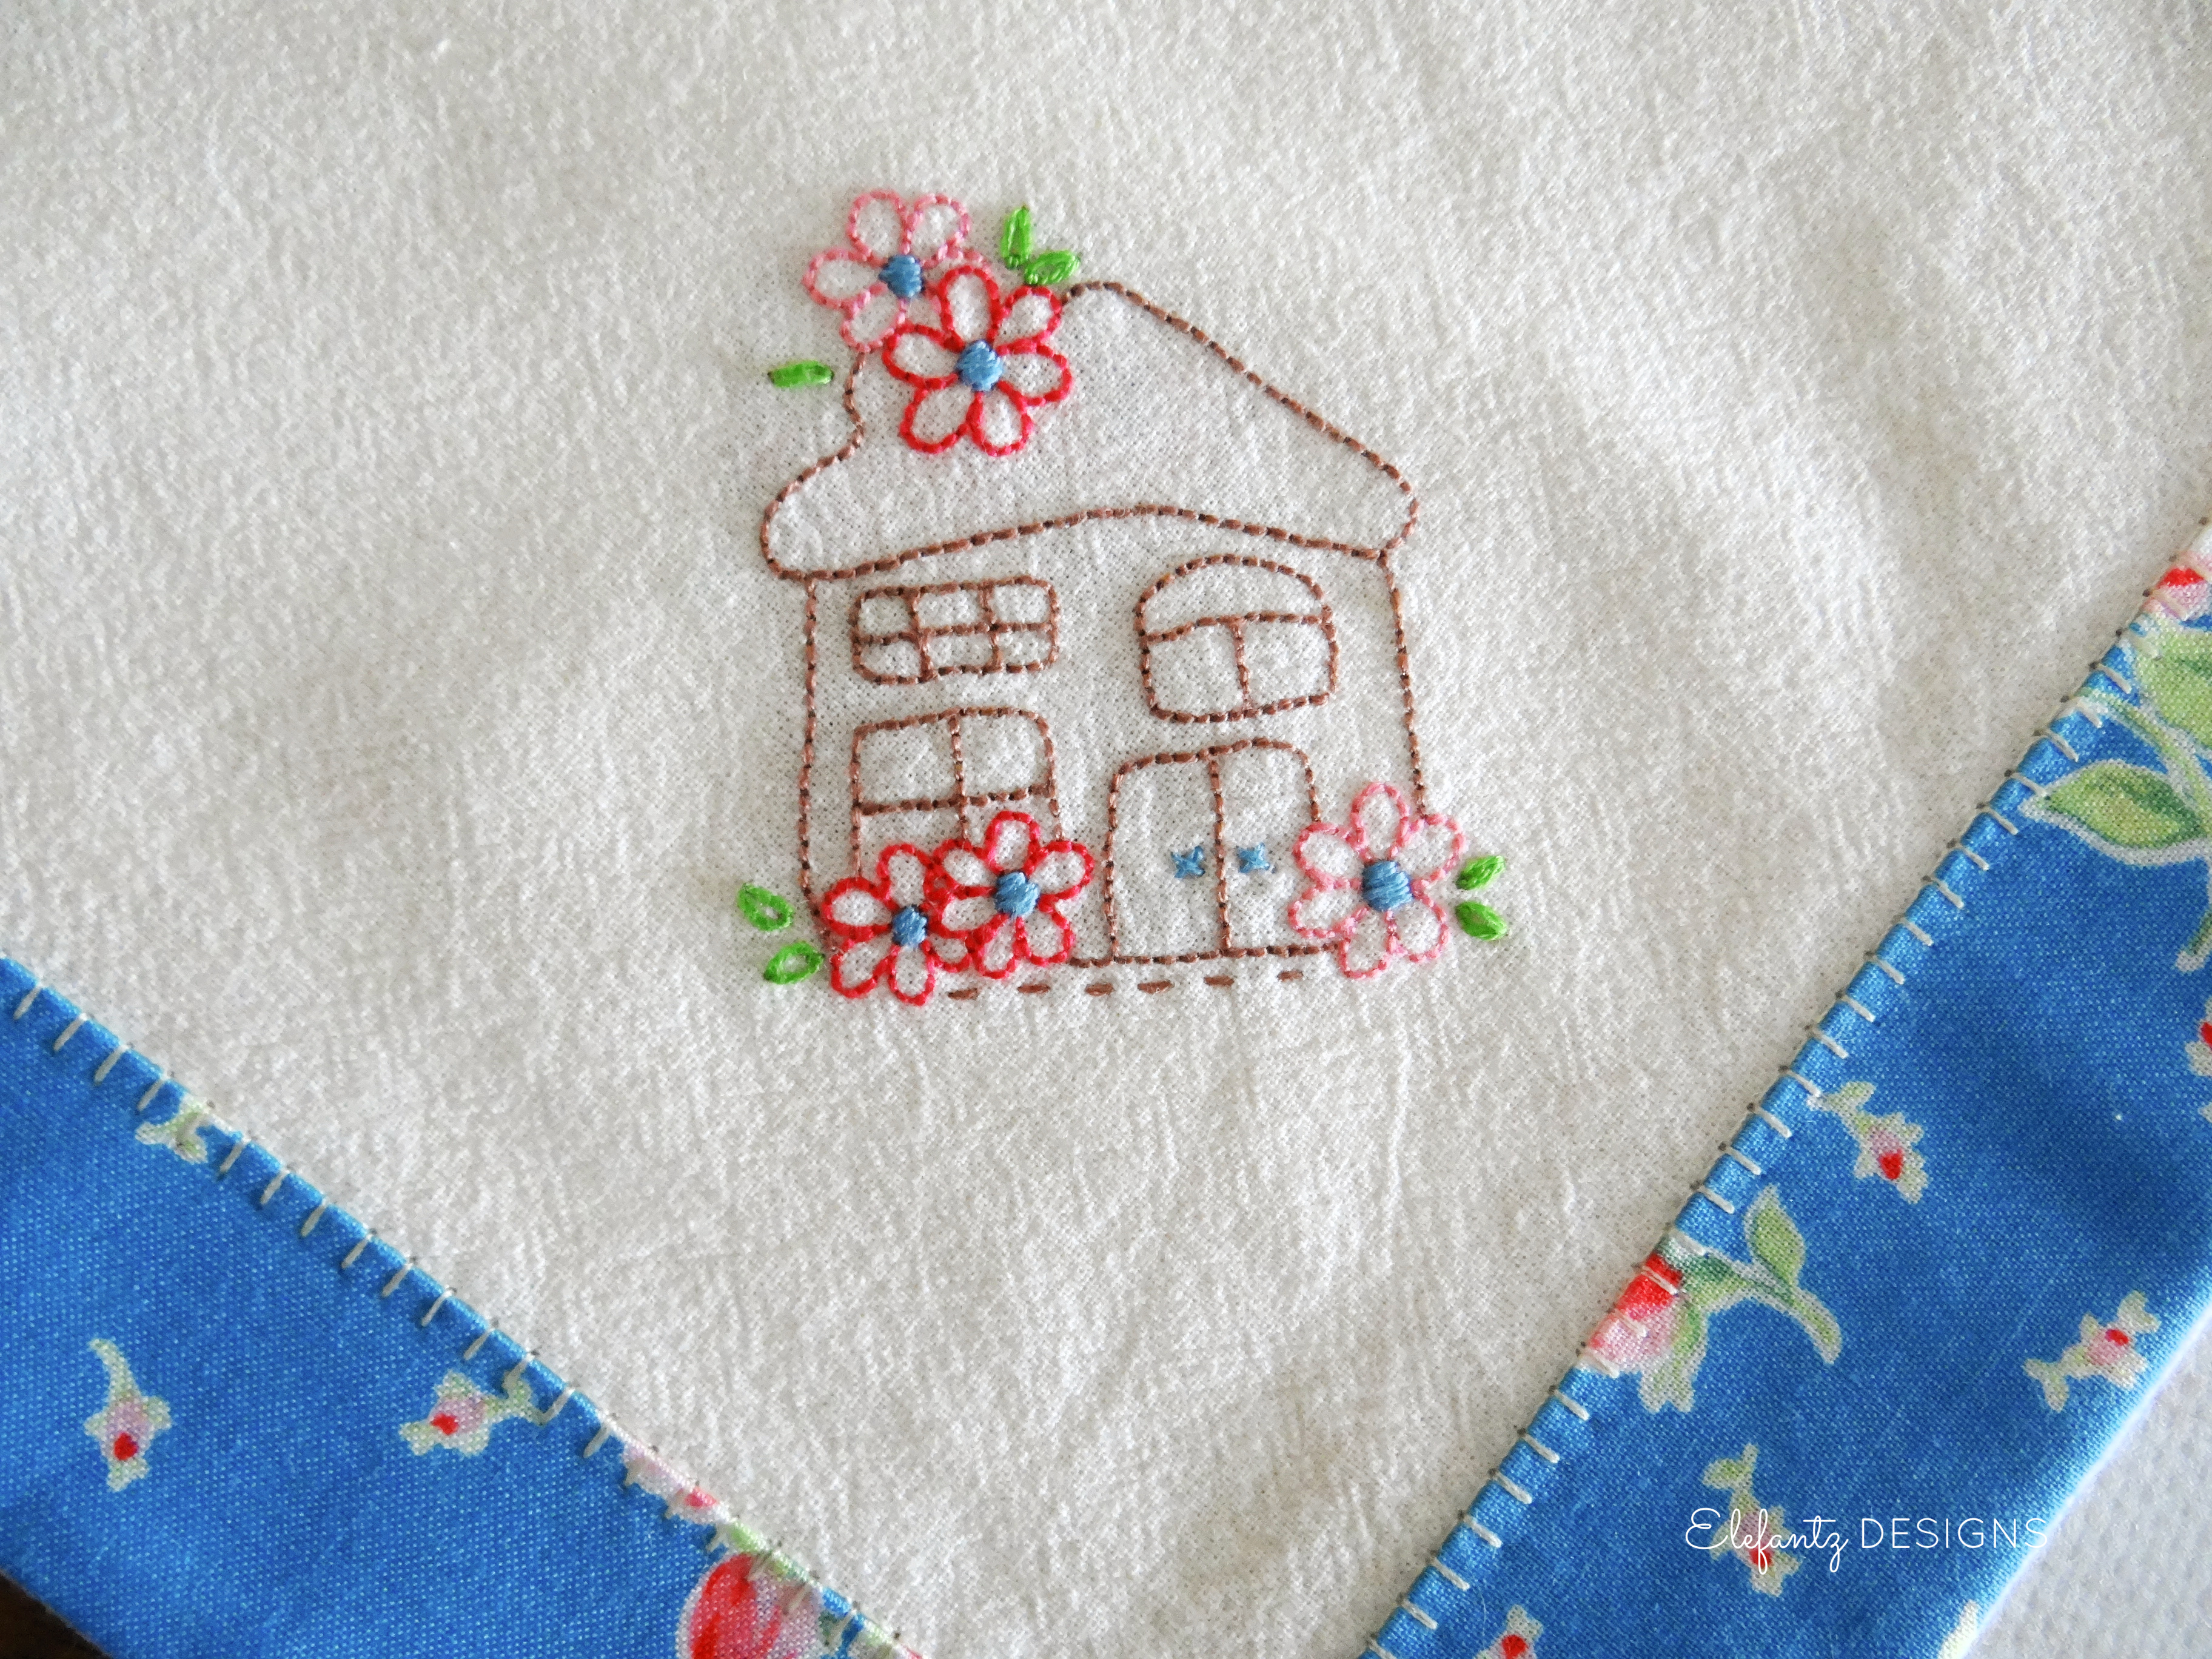
It's the final week of our Little House Corner stitch-along! Have you enjoyed this simple little home-hearted project?


Home has been very much the centre of our thoughts and actions the past ten days that hubby has been on a break from his job, and I'm in awe of all the hard physical work he's put into the front and back gardens. It's been quite hot and dry, around 33C each day, so not at all feeling like autumn here in the tropics...but the days are getting shorter, and that really helps. 

At the middle of next week things will be back to normal on Elefantz and I have plenty to show you then, but for now, I shall leave you with the final free pattern in our stitcha-along, and return to spending the last few days of hubby's holiday break with him - pottering around, planning, tending and working in our gardens. 

Use the link below to download the free pattern...


If you missed any of the tutorials or free patterns in this project, just pop over HERE for all the links.

Bless you heaps,


Friday, March 17, 2023

Week 3 Little House Corner stitch-along...


Just popping in for a quick blog post today to share block three of our Little House Corner stitch-along. Hubby is on a short holiday break from work until the 28th, so we're busy digging, weeding, planting and doing general yard and home maintenance. 
As he normally works six days a week, this time together is rather lovely and I've decided not to be distracted with blogging until he returns to work, especially as home, family and marriage are so very much at the core of my blog.

Today Blossom and the children came over to help Poppy plant some new trees, play in the pool, romp with the Harry dog, and enjoy my baking. They don't get to see Poppy very often, so days like this are treasured. Family time together is very important, and something we must never take for granted - which I am sure you understand. 


Block three of Little House Corner can be downloaded using the link below.


I shall be back next Friday with the final block, but if you missed block 1 or 2, or the supper cloth bordering tutorial just pop over HERE for the links. 

Bless you heaps,


Don't miss out on any Elefantz news or free patterns. 
Subscribe to my blog posts HERE and receive them direct to your email inbox.  

Or sign up HERE for my free newsletter which often has extra benefits, freebies & tutorials!

Friday, March 10, 2023

Little House Corner block 2 and some other sewing progress...


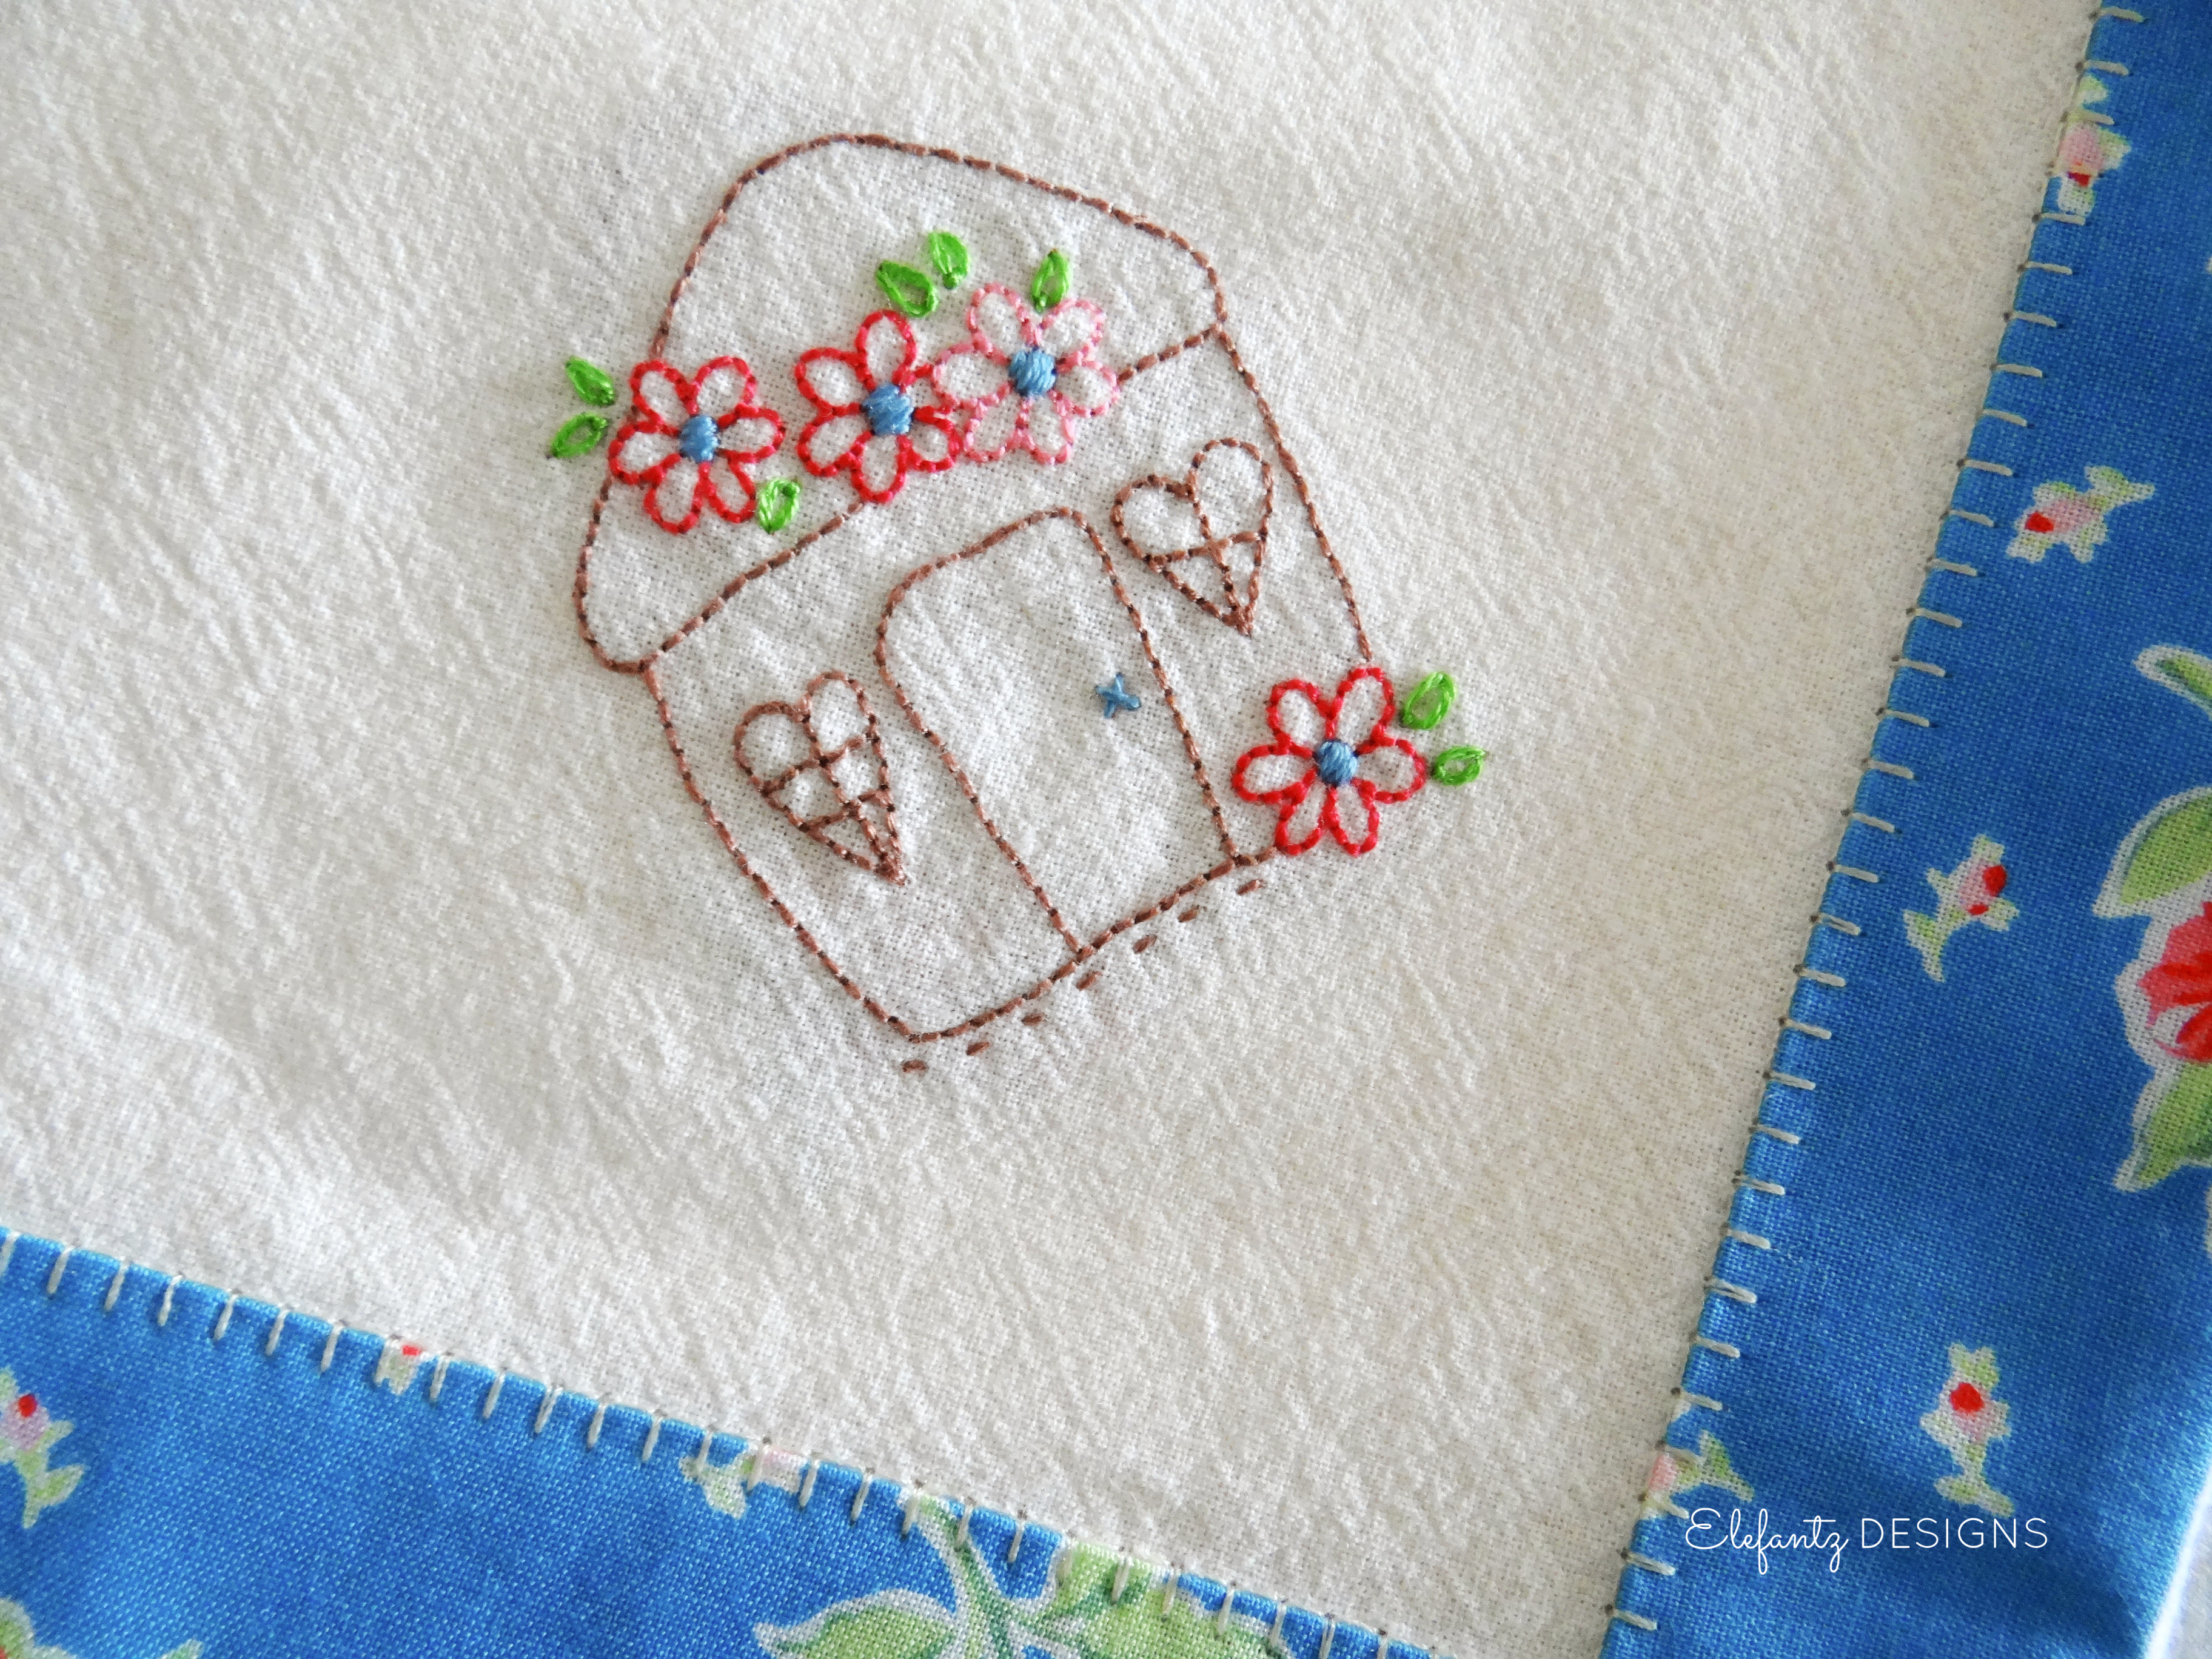
Did you make your bordered cloth and stitch the first house in one corner last week? Today I have the second little house for another corner. 


The little heart windows are a reminder that a happy home equals love. The four house stitcheries are all quite simple, and once you've made your supper cloth or table cloth, you could stitch them again onto any number of small projects, even greeting cards. If you have extra ideas for displaying these little houses please share in the comments below. 

Use the link below to download this week's Little House Corner stitchery pattern.

DOWNLOAD week two pattern

If you missed week one, you'll find it HERE. If you need to watch the bordered cloth tutorial, it is HERE


I've been designing patterns since 2009 and have loved every minute, so I still design, but not as much anymore. Slowing down my life, especially being in my 60's, has allowed me to play around in my sewing room again, rather than always working in there. 

Last year Shez gifted me one of Anni Downs quilt patterns, Gossip in the Garden, and I decided to made one of the blocks into a cushion for my daughter Kezzie. This was for two reasons - firstly, I knew she'd love the tea time theme, and secondly because I wanted to test myself with needleturn applique. 

You see I have dabbled with needleturn over the years, but my own designs are 99% blanket stitch applique simply because I love it, and the way I can 'adorn it' with chain stitch or other stitches. See below one of my Virtuous Wife blocks, how I've split the applique of the basket into two separate sections and filled the space with chain stitch...


But, I've now discovered that I love both styles of applique, so when I completed Kezzie's cushion I decided that one day I would indeed make the whole Anni Downs quilt and use only needleturn. 

Back in January I made a start, and my friend Rosie joined me, so we're both in the process of sewing our own versions of Gossip in the Garden. I have to tell you how much fun it is to text photos back and forth to each other, or to sit across the table and stitch together as we chat! 

Here's my progress so far...I am loving the Dresden blocks...


...and this is where I'm up to at the moment. The centre block is a work in progress, and I add sections to it as I go. First it was the vase and the stems, then the tea pot, then the leaves, now the circle flowers ready to be needleturned. Once I complete them I'll add the larger flowers and stitch the words. 


The fabrics used are mostly 'Blume and Grow' by Natalie Bird, with extra fabrics added from my stash. 

I have found this project very relaxing, something Blossom pointed out to me the other day. Needleturn  is a bit like 'zoning out' for me, the gentle rhythm of sewing something beautiful which does not require me to tweak, measure, write instructions for, sew, photograph and promote - well, it's rather wonderful and soothing in a way I don't quite have words for.

I'm rather sure that once this quilt is made, I shall be looking to Anni's shop for another of her whimsical patterns. 

What are you stitching at the moment? 

Bless you heaps, and may the weekend just around the corner bring you days of calm delight, gentle thoughts, laughter, love, and precious moments of worship in the presence of our Lord. 

hugs


Don't miss out on any Elefantz news or free patterns. 
Subscribe to my blog posts HERE and receive them direct to your email inbox.  

Or sign up HERE for my free newsletter which often has extra benefits, freebies & tutorials!


Friday, March 3, 2023

Week 1 Little House Corner Stitch-along...


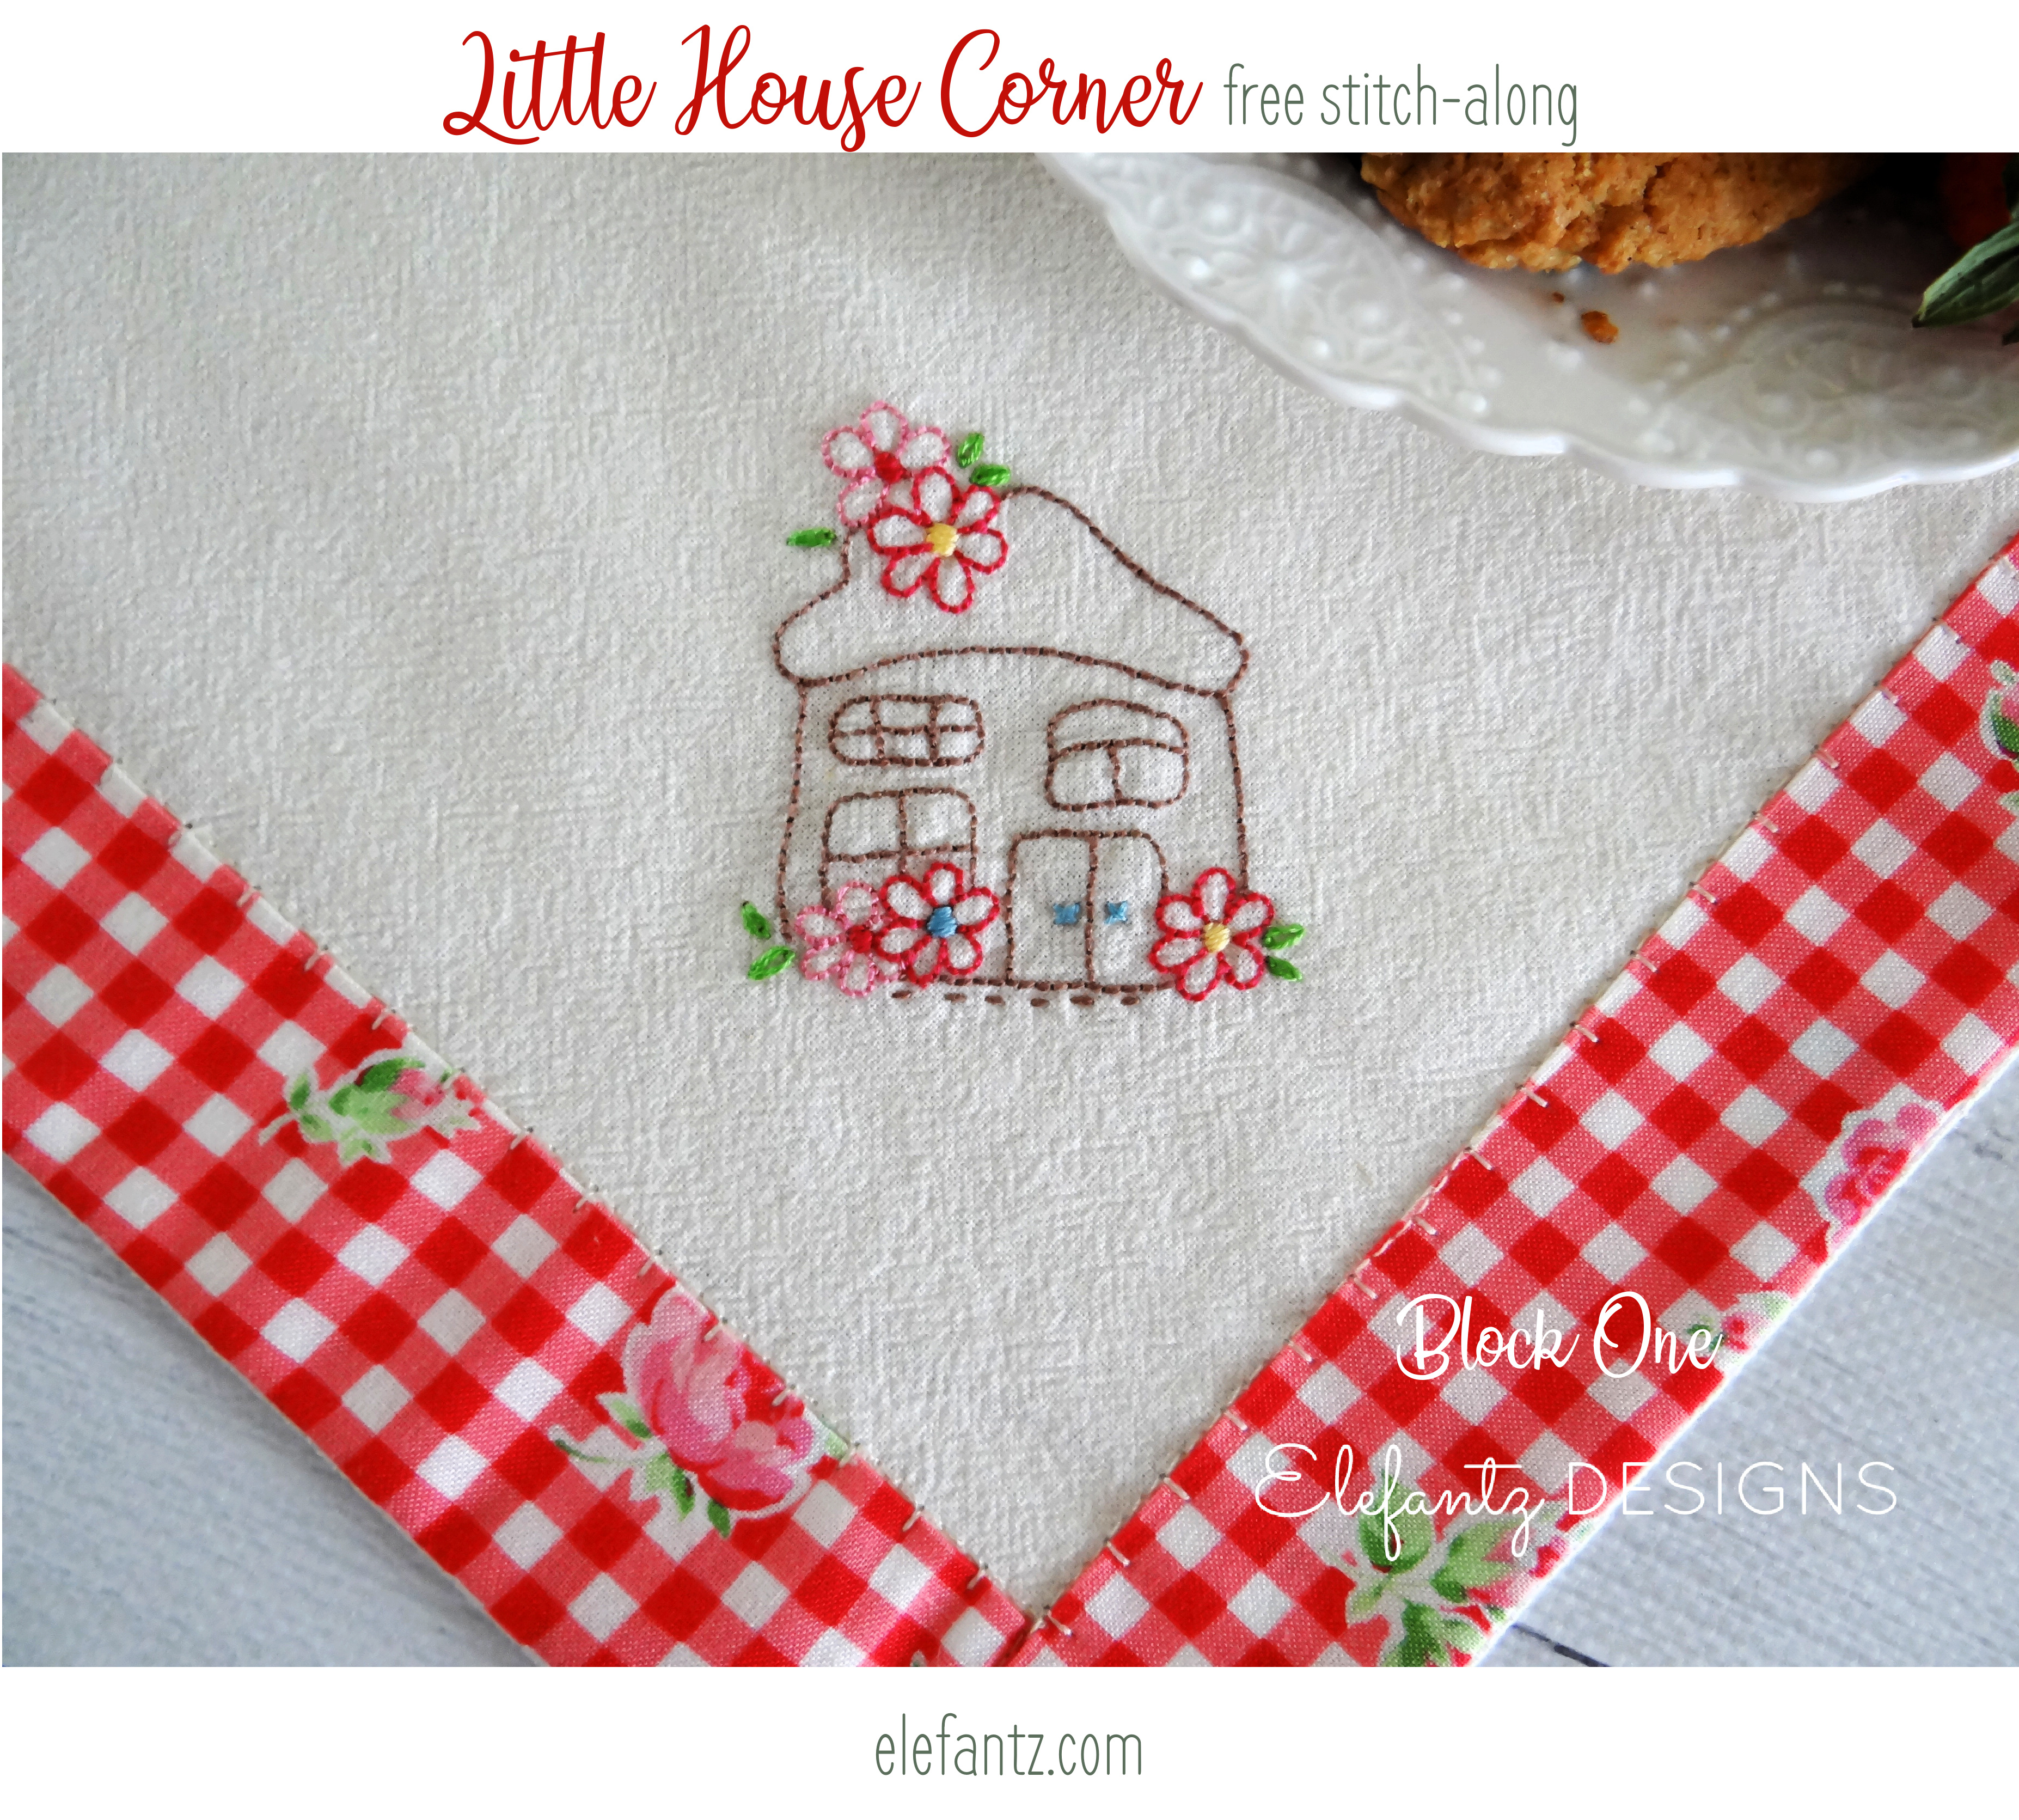
Good morning! Today we begin a four-part stitch-along which I'll be sharing with you throughout March. 
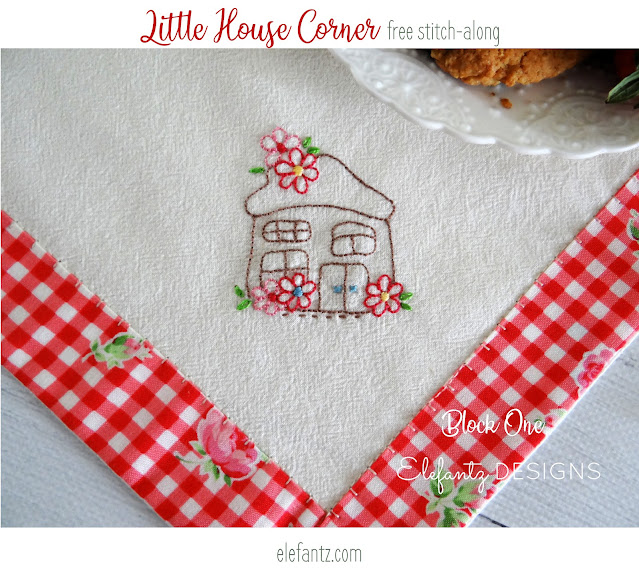
I named it Little House Corner because we shall be stitching four cute little houses into the four corners of a simply bordered cloth. Your cloth can be made of any solid or tonal fabric you like, however, I have stitched three of these small supper cloths (table cloths) using authentic unbleached flour sack. A lovely floral gingham print border adds a simple sense of homeliness to the completed project. 

If you missed last week's tutorial for creating a bordered cloth, you will find it HERE

Today, before we start embroidering our first little house, we need to position the design in the corner of our bordered cloth. I did a tutorial for this back in 2017 when I made my first supper cloth, which had a summery yellow border and the same little vase of tulips in every corner. 
The tutorial instructions from 2017 for correctly positioning a stitchery in each bordered corner is the same as you will use for all four houses in our 4-part stitch-along, except that you will be stitching four different houses instead of one repeated design.

1. Print the design you wish to embroider and gather a pencil and quilters ruler. Because my tablecloth is a square the corners are a perfect 90 degree right-angle, as you can see below.


2. Decide how far into the corner you want your embroidery and after positioning the ruler over the design use a pencil to trace the corner under the design.


3. Place your fabric over the pattern sheet and line up the corner pencil lines with the corner of your fabric before tracing the design. I did not trace the cloth under the vase, as you can see. 


(The little vase design is one of the 12 stitcheries in my Scrappy Vintage Kitchen pattern HERE)

So let's make a start on our Little House Corner supper cloth today, shall we?! 
This week we're stitching house number one, so print up your pattern sheet and follow the instructions above for tracing the first house into one corner of your bordered cloth.
The embroidery instructions are on your pattern sheet. 

Use the link below to download the first little house pattern.


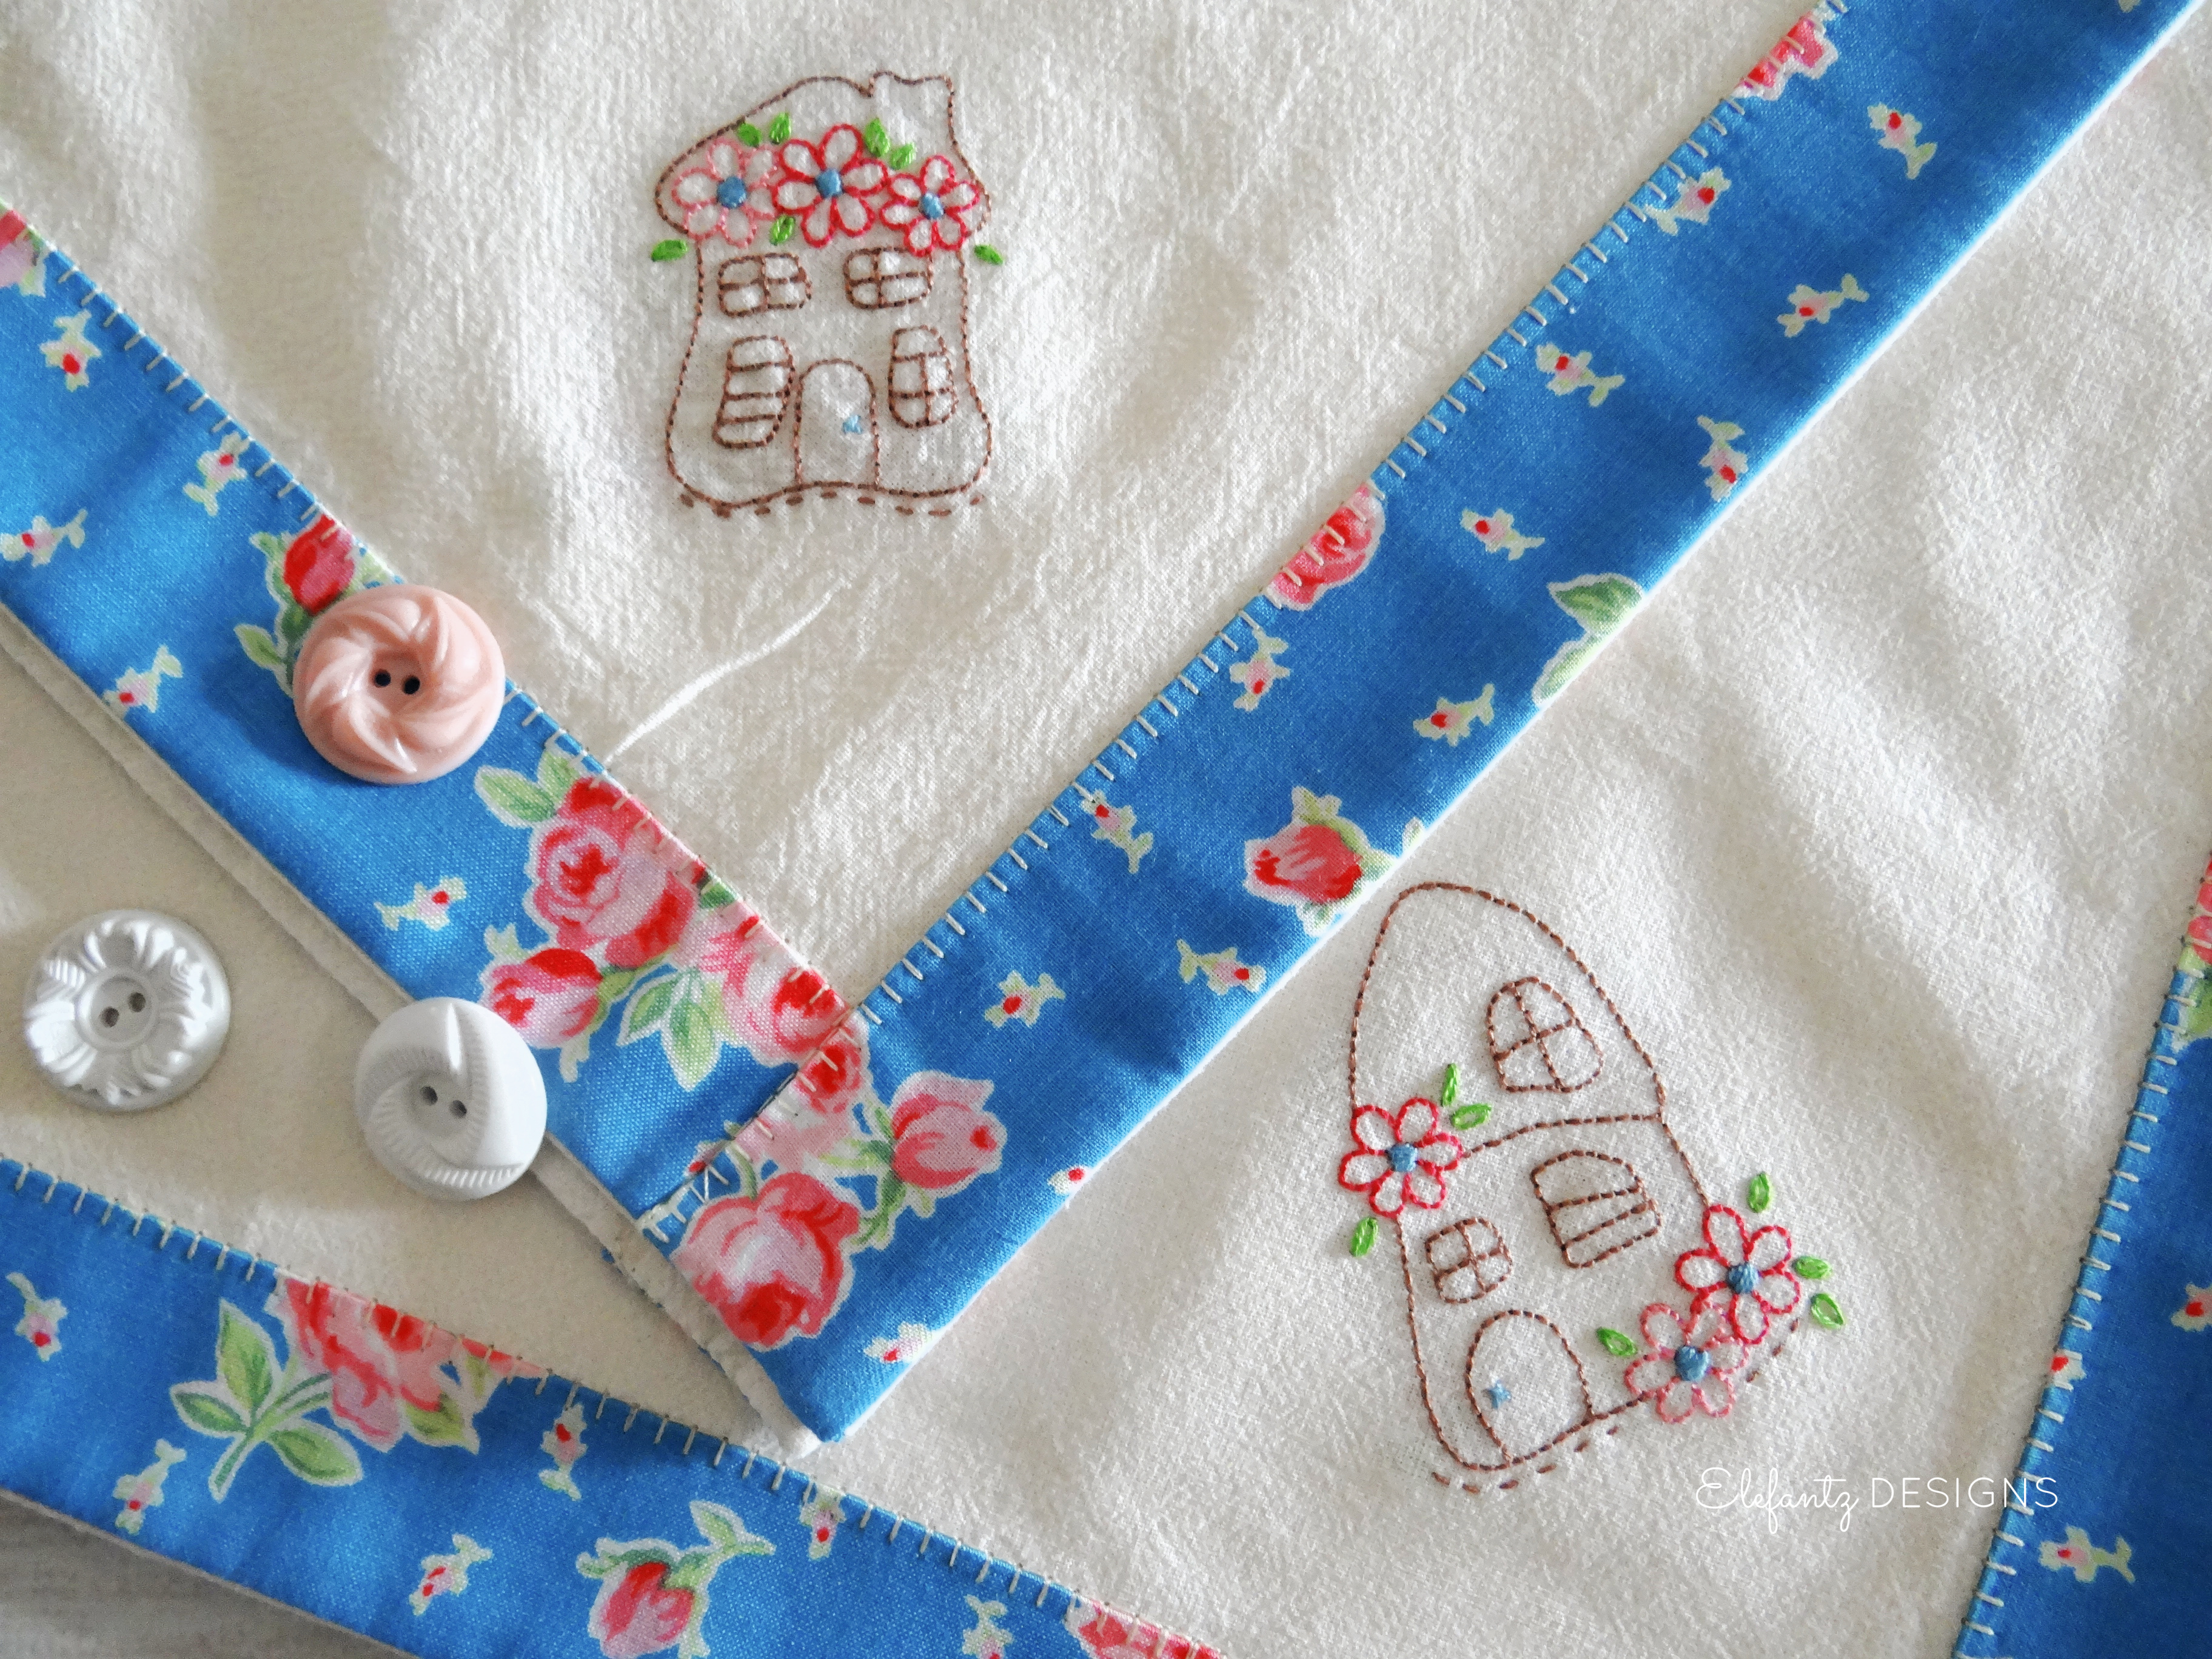
I have previously stitched two Little House Corner cloths, one for myself and another for my friend Rosie. Mine has a red floral gingham border and hers has a blue floral border, which blends well with Rosie's calming blue and white home decor. 

I was at Rosie's yesterday and wanted to show you how she uses her supper cloth. We always have a lovely morning tea before we stitch and chat about recipes, the garden, homemaking and family, and I absolutely love how she placed a red gingham tablecloth on the table first, then the supper cloth diagonally over the top! I instantly thought of a farmhouse kitchen and couldn't help but smile with delight.


Here's the same little house you'll be stitching this week, but bordered in blue...


Choose thread colours which blend nicely with your border fabric. I did not fuse any stabiliser behind the stitchery corners as flour sack is quite a sturdy fabric and it was not necessary. It's entirely up to you whether you want to add a stabiliser, but I think if you don't carry threads across the back of the design, but secure them when each coloured section is complete, you will be fine without it. 

Here's the back of my little house so you can see what I mean...


And here's the back of my tulip supper cloth as well. This cloth is almost six years old now and has been washed many, many times. I hang our washing out on the line in the bright tropical sunshine, and it has worn very well. I've never had to repair the border or any of the hand stitching...


I'd love to see your cloths coming to life, so if you have a blog please leave a comment with a link to it so I can come take a peek. If you're on Instagram use the hashtag #littlehousecorner so I can find you, or drop by my account @jennyofelefantz to say hi and let me know.

MORE news!
It's been a while since I added a brand new pattern to my Etsy Shop, but as you probably know, I've become a bit of a redwork lover the past couple of years, and combined with my love of home, this new design kind of made my heart sing.


"Always Be Home-Hearted" is a PDF download from my shop, so you could fill time stitching it in between the weekly Little House patterns this month.

The design is mostly backstitch, with some satin stitch, French knots, running stitch, lazy daisy and cross stitches scattered throughout. 


The mini-quilt measures 12" x 13.75" and was stitched onto a white cotton/linen blend background. Borders of assorted red fabric scraps complete the project. 
Imagine it in blue or green...mmmm. Nice. 

You'll find the pattern HERE

I hope you enjoy stitching the Little House Corner, my new redwork pattern, or something else from your sewing basket over the weekend. I believe when we have a heart for home, that love grows the more we tend and nurture it. For me, there's real delight in adding handmade pieces to our home - just as I gain joy from baking a loaf of bread, filling jars with hot jam to fill the pantry, or folding sheets fresh off the clothesline. When our hearts are turned towards home, when we actively choose to participate in creating a safe and inviting sanctuary within our walls, when we slow down and appreciate what is right before us...we are not just blessed, but become those who give a blessing to others.

God bless you, 


Don't miss out on any Elefantz news or free patterns. 
Subscribe to my blog posts HERE and receive them direct to your email inbox.  

Or sign up HERE for my free newsletter which often has extra benefits, freebies & tutorials!


Saturday, February 25, 2023

Preparing for the stitch-a-long...

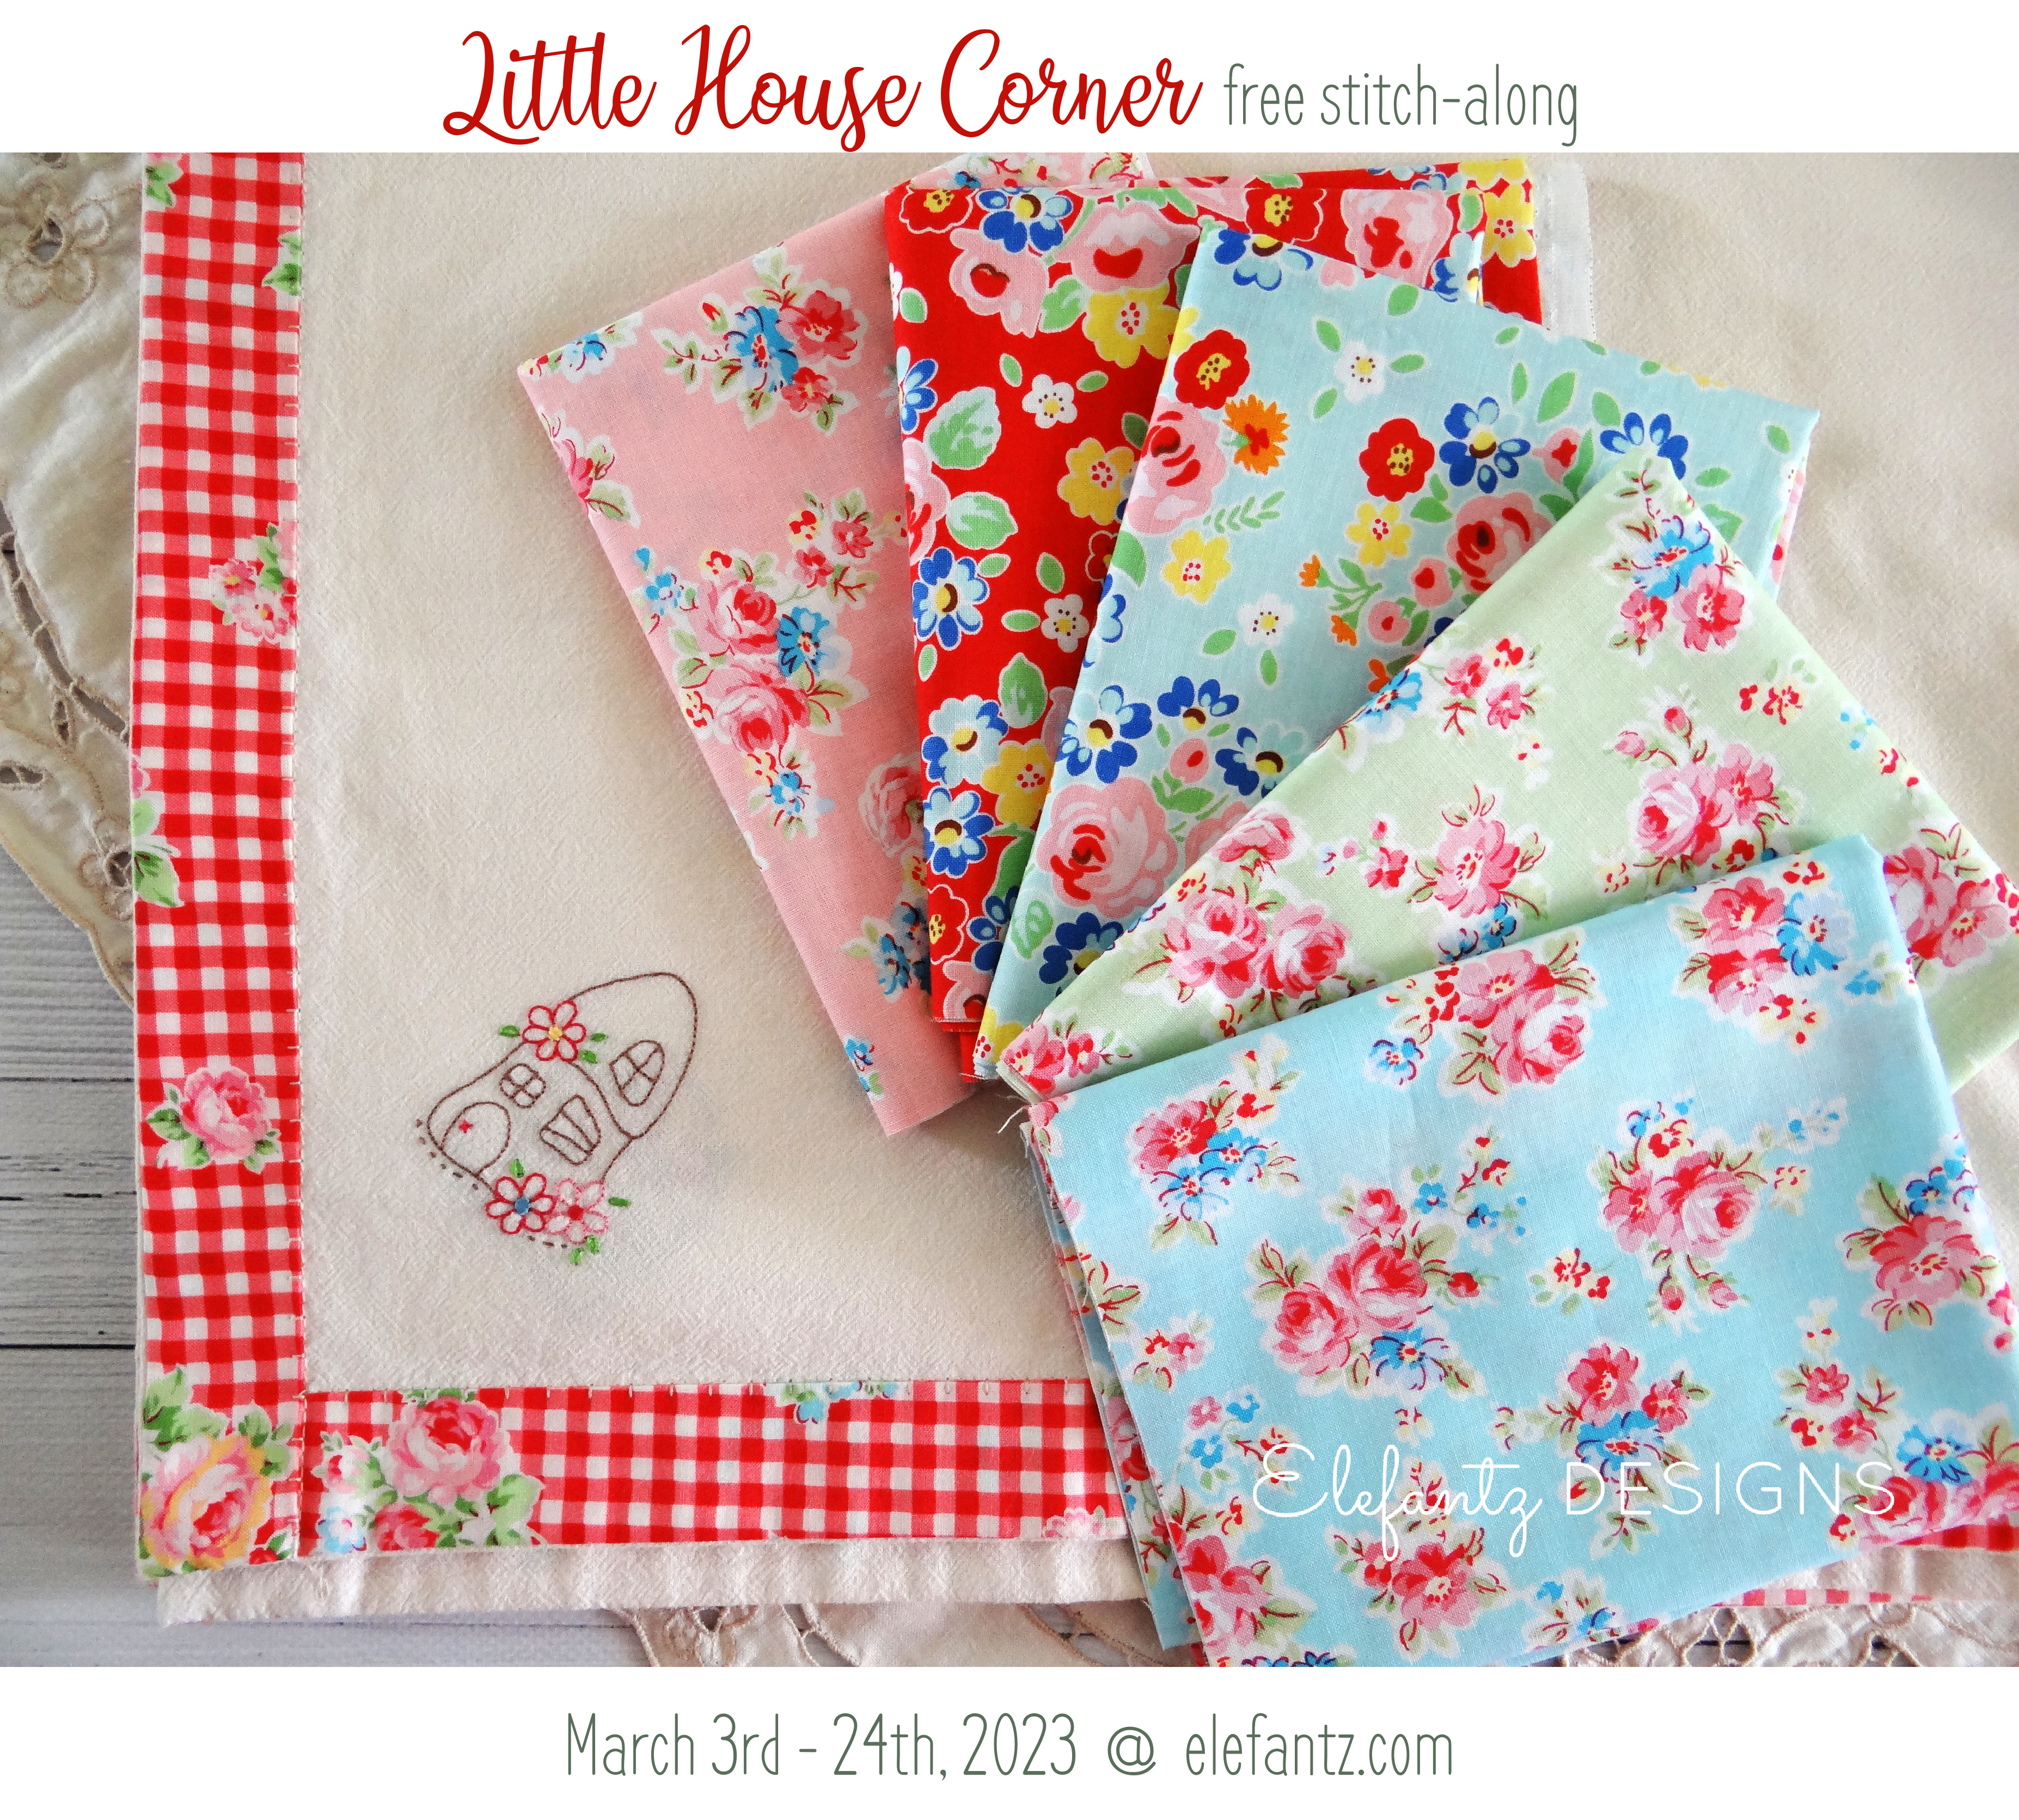
The start of our Little House Corner stitch-along is only six days from now, so we need to prepare our bordered supper cloths before we begin stitching little houses into each corner. 

I've made three of these supper cloths in the past from large flour sack towels; two last year with the little house stitcheries, and one back in 2017 which featured a little vase of tulips in each corner. We shall revisit that 2017 version next Friday as it's also a tutorial for accurately tracing a design into a corner.


Today however, we'll prepare our bordered cloth. You can make your supper cloth as large or small as you like because the border instructions are the same for all sizes, but as I have already made three from flour sack, I decided to use a very fine soft pink linen for today's tutorial. This is another thing about making a bordered cloth for the Little House Corner project - you can use any fabric you like. In fact, after you've made one, you might be inclined to make a few more!

IMPORTANT: pre wash all your fabrics for this project. If you're using flour sack as I did for the original Little House Corner cloths, you must take into account that flour sack and quilting cotton (which you'll use for the border) will shrink slightly, but at different rates. By pre-washing both, you'll be assured no distortion will occur when the completed project is washed one day. Also, if you purchased one of my kits for this project, you will need to remove the hem from the flour sack before making this supper cloth.

I purchased this fine, soft pink linen on sale back in 2016 and I've waited for an idea to form whereby it could be transformed into something lovely. Yesterday, this happened.

I cut the linen to a 40" square (the flour sack supper cloths were all around 32") and being that it is so fine and frays easily, I had to be very careful. My idea was to add a very romantic rose border fabric, because I don't have a handmade cloth suitable for a high tea with vintage cups and saucers, so after auditioning prints from my fabric shelves I decided on this old Lecien print from their Flower Sugar range in about 2015. 


(so sad that Lecien no longer produce fabric)


Let's begin.

You will need to cut four, 3" wide lengths of fabric, slightly longer than the length/width of your cloth. Regular quilting fabric such as the floral print I used, measure around 43"to 44" from selvedge to selvedge, so I simply cut my 3" wide pieces from that. 

Then you'll fold those strips of fabric in half along their length...


We're going to attach borders to the top and bottom of the supper cloth. Pin the raw edge of one length of border fabric along the top edge of the wrong side of you supper cloth...


Sew the fabric to the wrong side of your cloth with a 1/4" seam.


Press the border away from the cloth...


Fold the border over to the right side of the cloth and press. Pin in place...


Blanket stitch along the edge of the border fabric. You can do this by hand or machine. I chose machine because it's quicker, and more secure with an item that may be frequently used and washed over many years. (you could also choose to blind stitch it to the cloth instead)


Repeat the same steps along the bottom of the supper cloth.

Trim the excess border fabric from each end of the top and bottom edges of the cloth...


Now we shall sew the borders along the sides of the cloth. Pin the border fabric to the wrong side of the cloth as you did with the top and bottom edges, leaving a tail of extra fabric at each end. Sew in place with a 1/4" seam.


Once again, press the border away from the cloth.

Trim the excess at each end of the border to about 1/2". Fold in the corners as I have done in the photos below...


Then fold the border over to the right side, and pin in place, just as you did with the top and bottom edges.


Blanket stitch the side borders in place, just as you did with the top and bottom borders.

Whip stitch or ladder stitch the little opening closed. (I took the photo below before stitching it closed)...


Press your cloth and it is complete!


I won't be embroidering inside the corners of this cloth, as I love the pretty simplicity of just a border on such fine linen...besides, I have already made two Little House Corner supper cloths, though I forgot to take a photo tutorial for the borders. Today's tutorial has served that purpose, but also given me a lovely new cloth for fancy morning teas. 

I still have a bit of the Lecien fabric to use, so perhaps a couple of matching placemats, or a centre cloth for the tea pot will add to my vision of a high tea setting. 


There's a lot of options for a cloth like this. A floral cloth with a solid border perhaps? A lace cloth with a fabric border? You could cut up a lovely old sheet (remember when they made beautiful floral printed sheets? Laura Ashley had some gorgeous ones back in the day) and pair it with a tonal print or a solid. 

Next Friday however, we'll begin stitching little houses into all four corners of your completed supper cloth. I'll be sharing the four free stitcheries over four Fridays in March, so be sure to keep popping back to collect them, or sign up to my email delivered blog posts or free newsletter (links below my signature).

Bless you heaps, and may your weekend be one of calm, sunny days, the kind which draw our eyes to nature and the bounty of beauty our Father God has created for us...

Hugs


Don't miss out on any Elefantz news or free patterns. 
Subscribe to my blog posts HERE and receive them direct to your email inbox.  

Or sign up HERE for my free newsletter which often has extra benefits, freebies & tutorials!