

I know inserting zippers can cause hyperventilation and a hasty dash for the nearest king size block of chocolate for many crafters, but trust me - this lined zippered pouch is about as easy as it gets, and after you've made your first you'll be stocking up on zippers to make more!
When I made the phone cosy (here) last week Miss Blossom may have dropped a hint that she wouldn't mind one herself, so yesterday I spent an entire 15 minutes making one just for her. As I was packing up the fabric and beads it occurred to me this might be a convenient time to take photos for another tutorial - this time for a zippered pouch - and then I could gift her with the matching set.
So I did...

I added a little key charm to her phone cosy beads, and if you look closely at the beads you'll see little sparkly stars inside. Sweet...

Now, do you want to make a pouch with me?
NOTE: You can make this any size you like, as long as your zipper measures at least 2 or 3 inches longer than the width of your fabric.
Start with an outer fabric, a lining fabric, and a co-ordinating zipper...

Cut two pieces from both fabrics, all the same size...

Lay one piece of your outer fabric face up on your cutting board, and lay your zipper right side down along the top edge. Let the metal sections of the zipper hang over the sides...

Place one piece of your lining fabric face down on top of the zipper and pin the three sections together...


Using the zipper foot of your sewing machine, sew 1/4" inside the top edge to join the three layers together...

Fold the outer fabric and the lining away from the zipper and press flat with a warm dry iron...

Place the other piece of outer fabric on your cutting board, facing up, and lay the right side of the un-stitched zipper edge down on it just as you did with the first section. Lay the remaining piece of lining fabric on top, just as before. Pin and stitch again...

Press these fabrics away from the zipper just as you did with the first set...

Fold the outer fabric over so that the two outer fabric pieces are facing each other, and the two lining sections are facing each other.
Open the zipper half way (this is very important) and pin around all four sides...

...leaving a 3 inch opening along one side of the lining.

I usually mark my opening with two pins to remind me not to sew in that section...
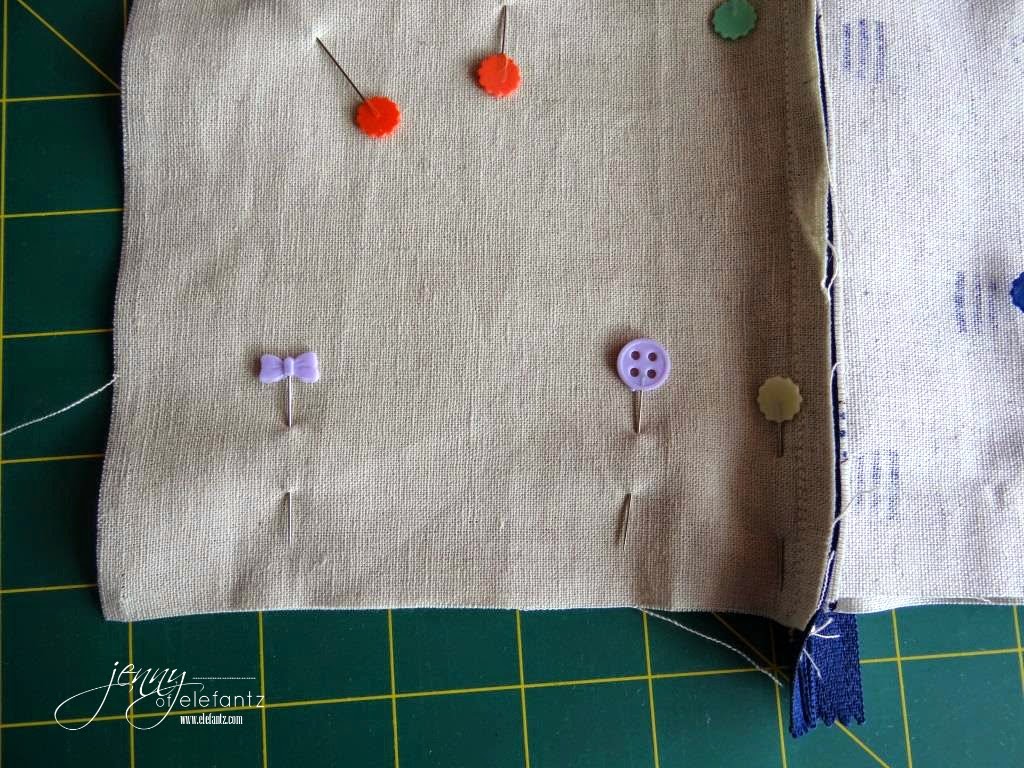
Sew around all four sides (omitting the 3 inch opening) with a 1/4" seam.
Trim the excess zipper away...

Turn your pouch right side out and open the zipper all the way...

Machine sew the opening closed with a scant 1/8th inch seam...


Push the lining inside the pouch...

...press, and you're all done!

Blossom is happy.
I am happy.
I wonder how many you'll make?
hugs


