Showing posts with label applique. Show all posts

Thursday, September 29, 2016

Process...

Just like the steps I must take when creating a new design, life is also a rhythm of processes.


We plan, we pray (well, I do), assess suitability, we gather what we need (advice, finance, supplies, or workers for example) and then we begin bringing the idea to life. 

Over time a larger picture begins to form and we can see with increased clarity the wisdom of our original hope or desire, and whether we should keep pushing forward or let it all go.

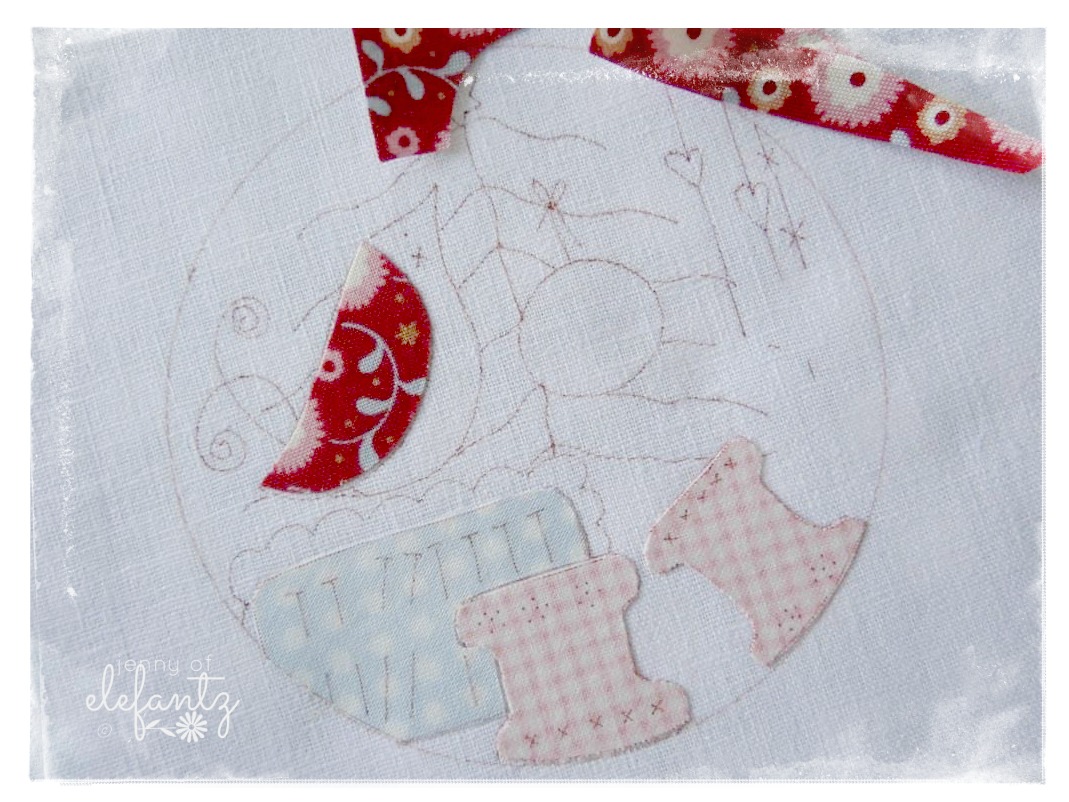


Starting over is sometimes an option if the idea has merit but needs to be taken down a slightly different path.

I've tossed aside a partially completed design because it's not what my heart or head imagined it should be. In fact, I did that this week. Sure, I could have pushed forward because I'd spent a few hours embroidering the design already, but my heart got heavier the longer I stitched.

I put it aside overnight, in case I was too tired and may find myself re-inspired with the arrival of dawn the next day. I wanted to throw the entire design in the bin before my eyes shut for the night, but life experience has taught me to walk away and rest first.

Again, that's like life. 
We can get too close to a situation and our 'vision' becomes blurred with all the problems we could face, or the time and energy our plan requires to follow through to completion. If we have a lot of stress it's easy to focus on negatives and allow them to become larger than life. If what we're trying to achieve has hit a road block we usually go one of two ways - push forward regardless because we've given too much of ourselves getting this far; or dump everything and walk away dis-heartened or perhaps relieved.

Next morning I did toss my original piece in the bin because I disliked it even more than the night before.
I cut it up. because for me this is the best thing to do if I truly can't stand what I'm working on as it frees me to start over with something new.

Only this time I didn't draw something new.
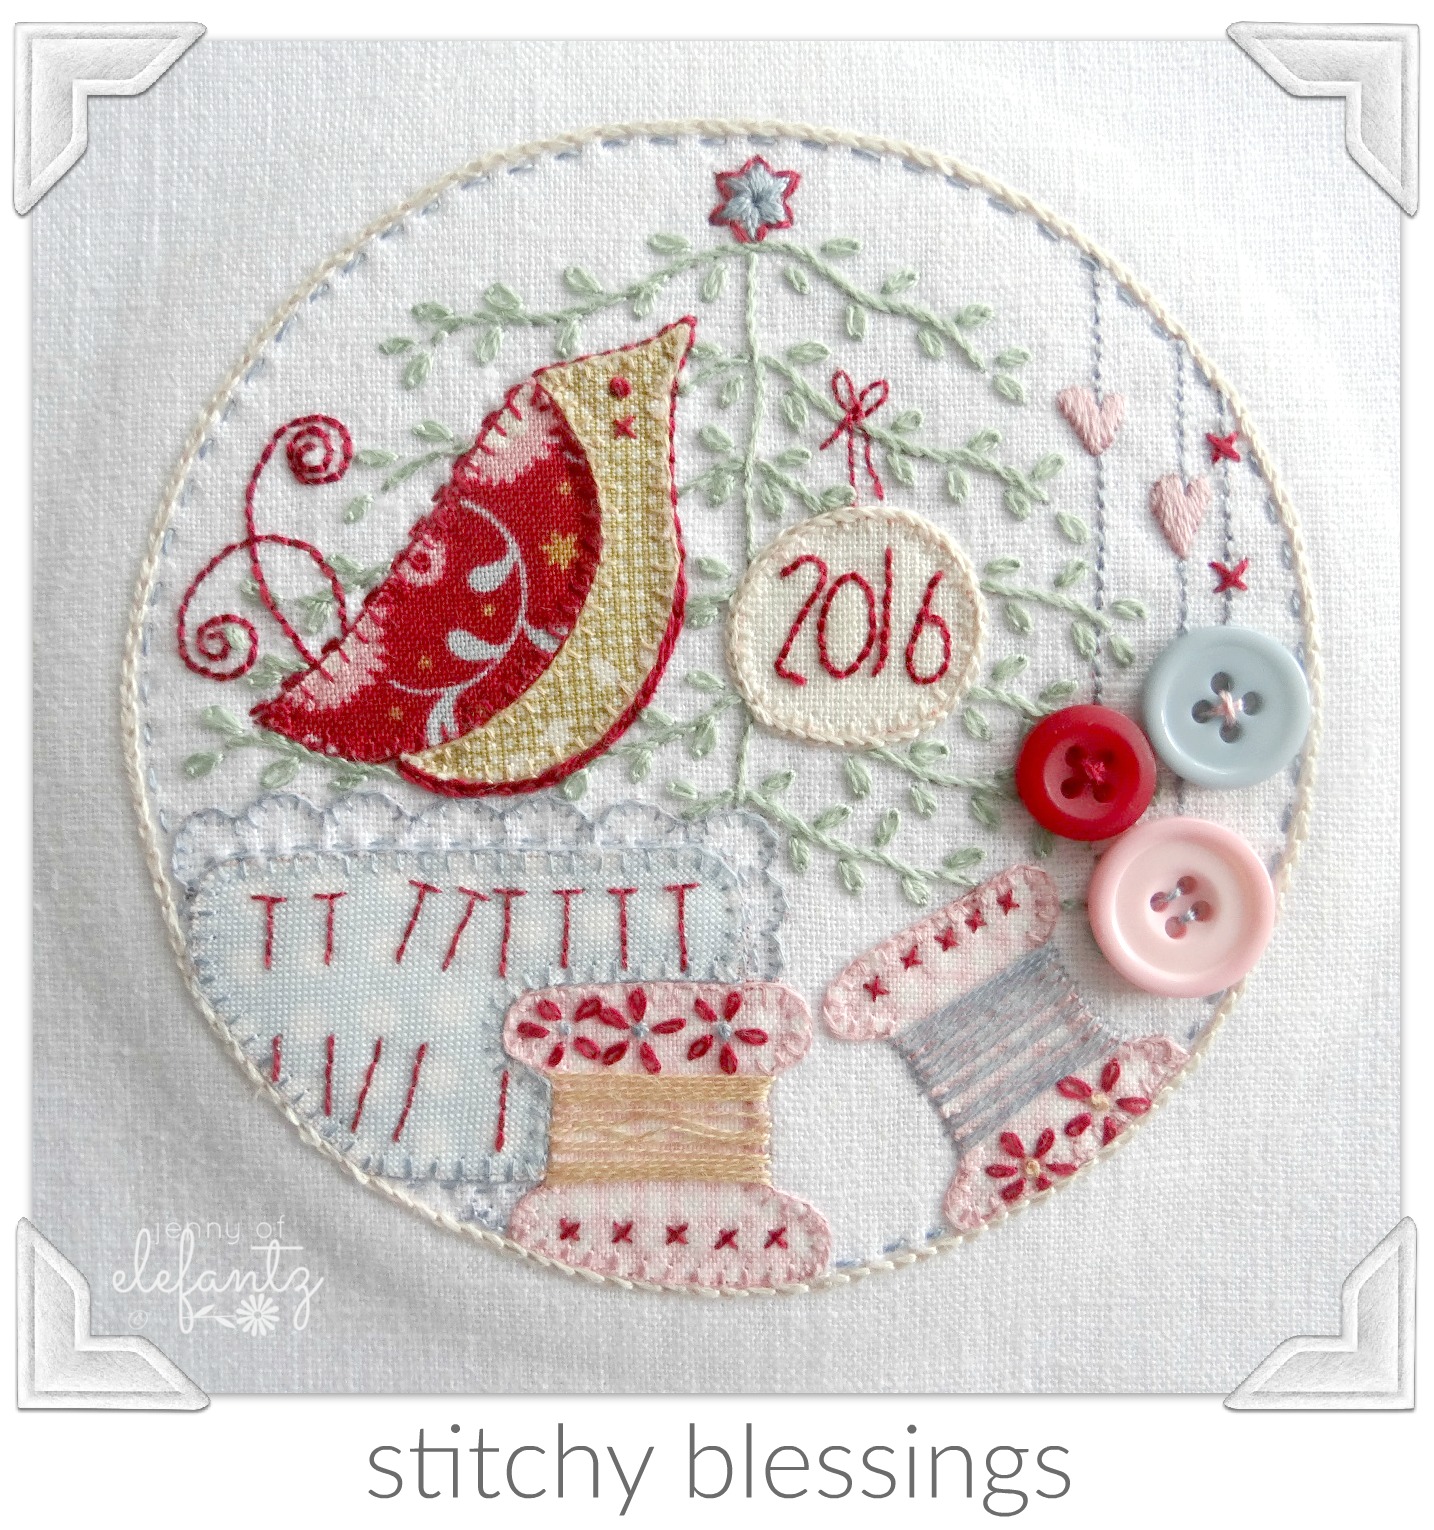
I simply took it in a new direction from a mess of variegated purple and green threads which I grew to abhor, to a gentler picture that grew from tiny applique shapes and solid pastel threads which I immediately loved.


I just had to look with fresh eyes.
The idea was right, the original execution was not.
The first version in purple and green thread was not me.

This pastel applique version is.


Maybe you've had a plan that simply hasn't come together the way you'd hoped.
Maybe you wanted to throw it out and not look back (and maybe it needed to be thrown out).

But, just in case, let me ask you something.

What if your plan has good bones? What if it just needs a fresh appraisal and taken in a slightly different direction?
Is there a glimmer of hope left which you can garner and proceed forth with?
Is there a glimmer of delight within you at the thought of taking your plan upon new waters?


Changing a design is a lot easier than changing a life course, but I have had to change my life course at times too.

I think you get the picture?


Be brave.
Whether this means tossing that plan to the wind or giving it a loving makeover, hold your head high and follow the right path with confidence.
You're much wiser than you thought, sweet gal.


hugs


Saturday, August 27, 2016

Alphabet stitcheries....

In 2014 I released a set of 26 alphabet designs and complimented them with two tutorials...


I actually get a lot of emails and messages about alphabet patterns because they are very popular as embellishments for hand-stitched gifts, so today I thought I'd share photos of some gifts I've made from the Rosedaisy Alphabet for family and friends. 
All of these, apart from the J, were framed...


A tutorial for preparing a stitchery to include blanket stitch applique is here.

A tutorial for colouring a stitchery before adding embroidery is here.


If you'd like this 26 pattern set (every letter of the alphabet is a different design!) I have it on sale until September 5th:

in my Craftsy Shop here 
or my Etsy Shop here,

Each letter when stitched will fit inside a 5 inch square. 

Stuck for a gift idea for birthdays, Christmas, weddings or a christening? These are perfect. 

I'm about to stitch an A and a C for my granddaughters Cully and Aminah. I'll be sure to show you when they're done!

Hope you have an ABC kind of weekend!

a...absolutely fun
b...blessed
c...calm and relaxing

hugs

Wednesday, August 24, 2016

More flowers to stitch...

Lately I've been pretty focused on getting two months ahead with my patterns for The Stitchery Club because Mr E is taking holidays from work in October and we'd like to enjoy that time together without me working too much. 
It's been 21 months since he took a proper break from his job and hopefully we can chill out, take a few long drives up and down the coast, and hopefully get closer to finding our very first home.

Remember I said the theme for September's Club issue is "Picking Flowers" when I showed you the first two designs (this blog post)?

Here's three more...


The final design for September is almost complete and it's just as sweet as these. I'll show you tomorrow!

Become a member of The Stitchery Club this month and your free gift pattern will be the "Merry Flags of Christmas"...

I don't think it's ever too early to stitch for Christmas, do you?

Have a blessed day!
hugs


Tuesday, September 15, 2015

Sewing just for fun...

I had an idea about two months ago but it wasn't until this weekend it became a reality. 

It all began with one fat quarter, a few charm squares, five blue vintage buttons and some simply drawn applique shapes...

After a bit of re-arranging till they were 'just right', the bright tonal shapes were fused in place on my floral linen background...

...and the raw edge applique begun.

Stem stitch through the leaves and running stitch lines along the stems, before a touch of blanket stitch secured the flower pot.

Lastly, long straight stitches and those sweet old buttons held my cheery flowers in place.

After the applique a piece of cotton quilt wadding was fused behind the linen and I did some hand quilting around the vibrant bouquet...

After deciding against a binding edge I chose pretty pink check as the backing fabric, and rounding the corners of what was going to become a table runner, I sewed the front and back together around all four sides before turning right side out and finishing with a simple hand quilted edge.

I love my new little table runner.
It was the perfect project to kick off spring...

When I wash it the flowers and leaves will fray a bit which is exactly the finish 
I'd planned for...

When these fabrics crossed paths back in July I could 'see' they were meant to be together, kind of like love at first sight, or destiny.
It's such a soft pastel linen, yet it came alive with the boldness of a few carefully chosen brights.  
What do you think?

hugs

Saturday, August 23, 2014

Together in the birdhouse!


Well, I took the challenge and spent all Tuesday night and most of Wednesday afternoon playin' around with an idea for my sweet bird fabric...


I thought "what about lovebirds in a birdhouse?" so that's where my 'makin' it up as I go along'  design began...

Step 1:
Sew blue squares together for the main background, and a green grassy edge along the bottom.
Step 2:
Prepare a birdcage that allows my lovebirds to be cosy and romantic!


Step 3:
Need to 'frame' the birdhouse. Choose fabrics for flowers, stems, leaves. Draw up the applique shapes...


Step 4:
Join the flower stems with a heart...
(cause this is a lovebirds project, right? )


Step 5:
The green bottom border needs something more.
Draw and prepare some pots to applique beneath the flower stems.

Step 6:
Add a bright border from the flower fabric!


Step 7:
Still needs something more.
Aha! This is what the design is all about...


Step 8:
What about the flower centres? More applique? No.
Choose cute little blue buttons to sew on at the end...


 Preparation Complete!


 Now I can choose threads and begin the hand applique. 
Pretty pleased with this so far...


Step 9 : Stitching in progress....

So you know what I'm doing over the weekend, don't you?!
What will you be stitching?

 bless ya heaps,